

It’s so easy to grow your own sprouts, and this guide will give you all the information you need.
Sprouts are a fantastic addition to any diet as they are a great source of nutrients and can be grown easily at home. Whether you are a seasoned gardener or a complete novice, growing your own sprouts is a fun and rewarding activity that can be done in just a few days.
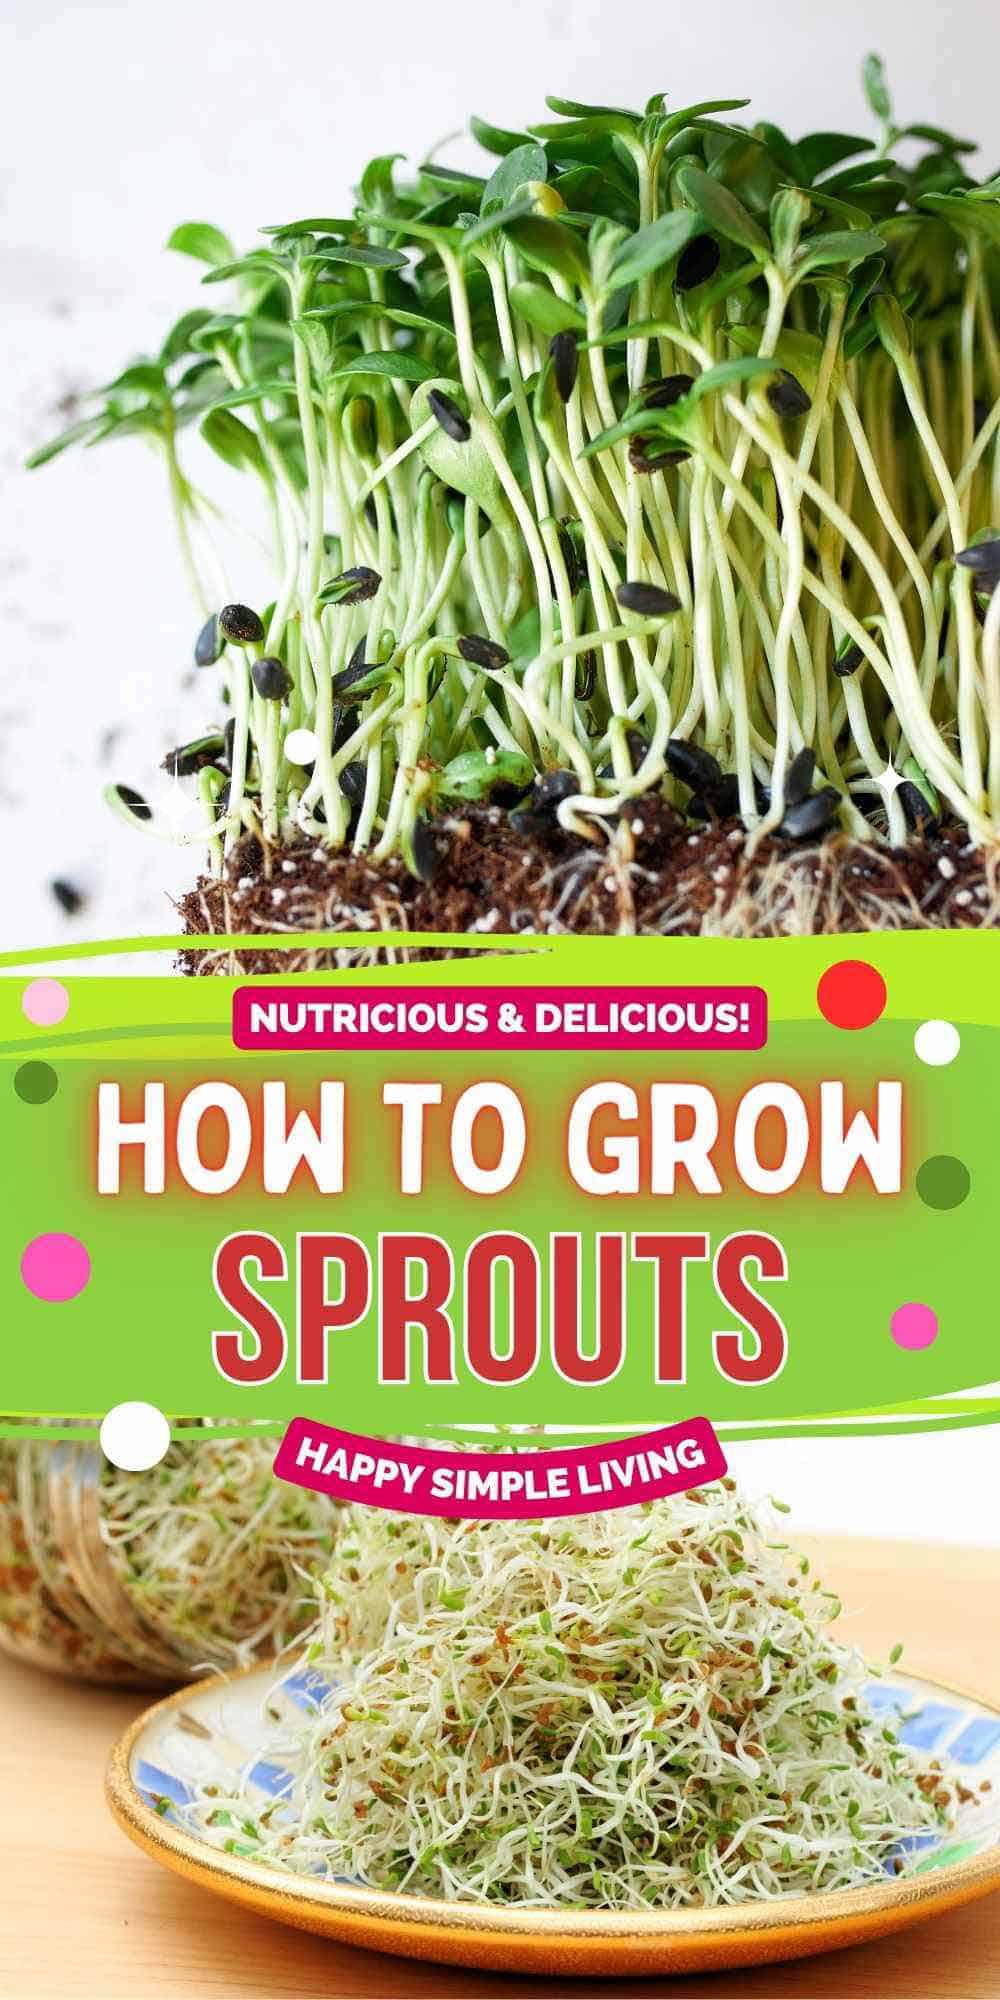
We’ll guide you through the process of growing your own sprouts, from selecting the right seeds to harvesting your delicious crop.
This post may contain affiliate links. Please review our disclosure policy.
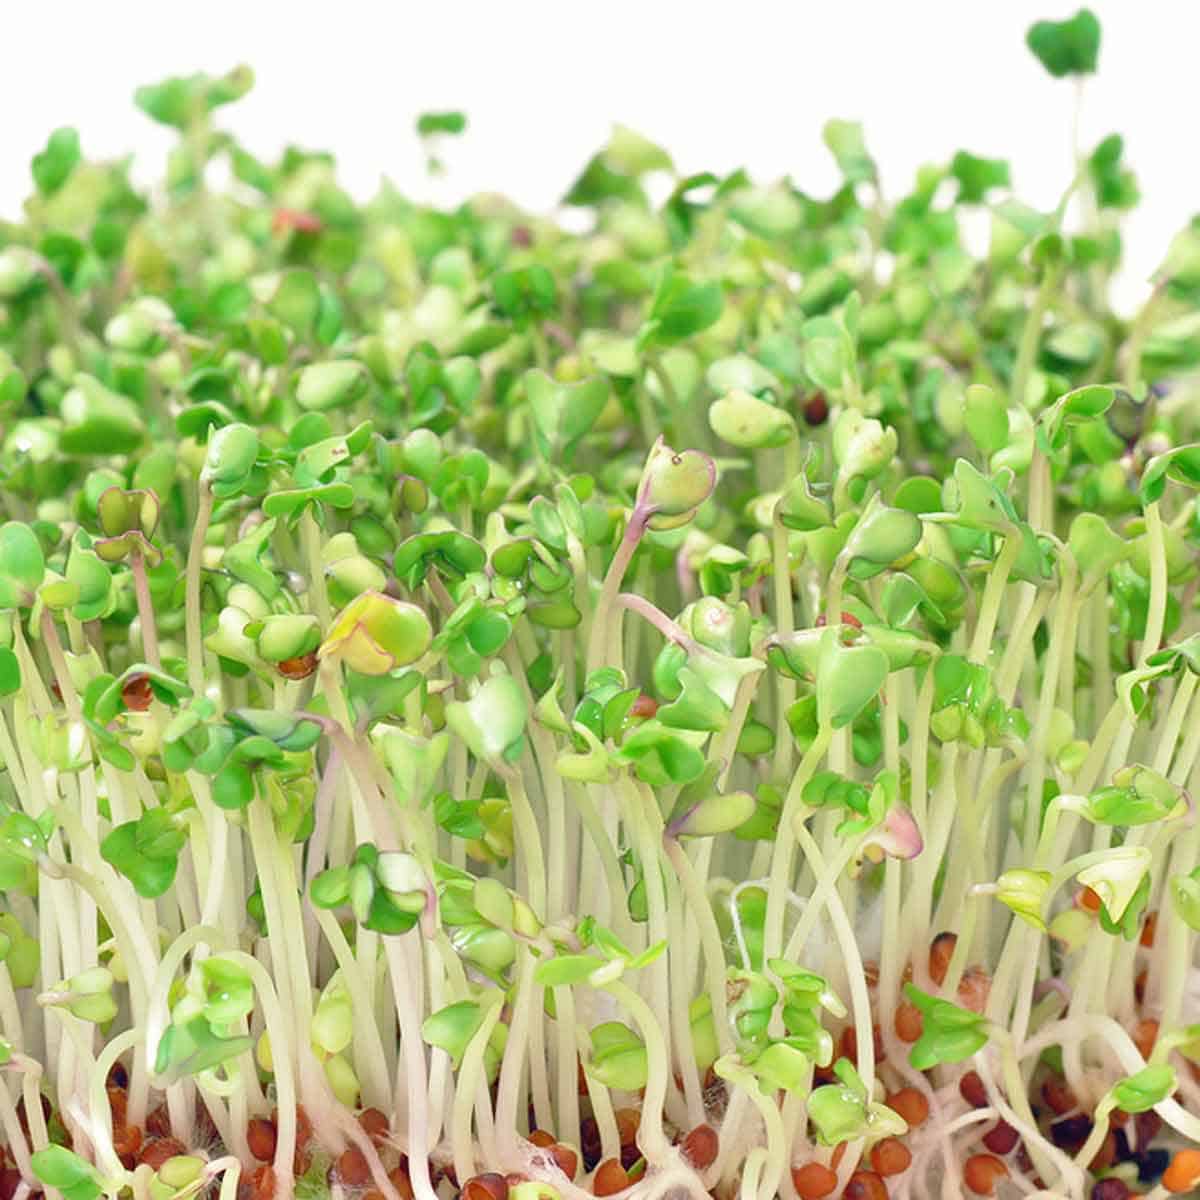
Sprouts are not only crunchy and delicious, they contain highly concentrated phytochemicals (plant compounds) and antioxidants.
Equipment Needed
To grow your own sprouts, here’s what you’ll need:
- A jar – You can use a Ball jar, a recycled jar, or a special growing jar. For this post I used a 24 ounce jar and sprouted 2 teaspoons of alfalfa seeds.
- Seeds to sprout – See ideas below.
- Water – Tap water is fine, or you can use filtered water.
- Cheesecloth – for air circulation and ease of rinsing the sprouts. You can also buy a special mesh lid for wide mouth Mason jars if you prefer.
- A rubber band
- Paper towels
Best Seeds for Jar Sprouting
When it comes to choosing which seeds to sprout, there are dozens of options! Some of the most popular sprouting seeds are:
- Alfalfa
- Broccoli
- Clover
- Mung Bean
- Sunflower
I found a good assortment of organic seeds for sprouting at my local Natural Grocers, and decided to buy organic alfalfa and mung bean seeds because they’re easy for beginners to grow. You can also buy seeds for sprouting and growing microgreens online.

I’ll admit that I was sorely tempted to buy a special seed sprouting jar, but I resisted. I’m trying to stop buying so much stuff, and growing sprouts in a regular old jar better suits my sensibilities about recycling anyway. So my total out-of-pocket expense was a little over $5.
Step by Step Directions and Photos
The first step of sprouting is soaking the seeds. Cleanliness is important in sprouting so that no bad bacteria ruins the process, so I ran my designated jar (which previously held applesauce) through the dishwasher so it would be sterile.
Then I added some filtered water, filling the jar about half full. I decided to try sprouting some of the alfalfa sprouts first, and since my jar isn’t large I added 2 teaspoons of sprouts and gave it a stir.

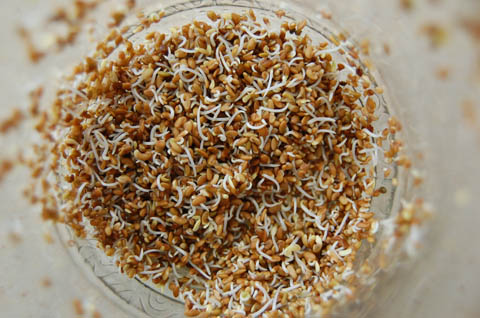
Even though I started with a small portion, there are hundreds and hundreds of the tiny alfalfa seeds:

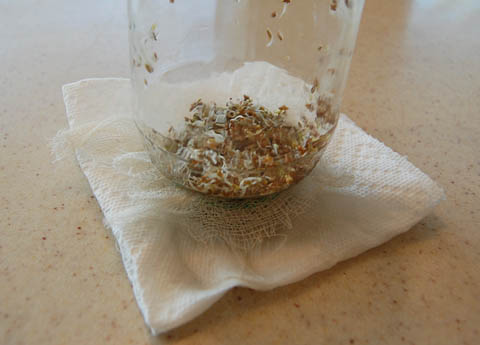
Next, I secured a piece of cheesecloth on top of the jar with a rubber band. If you’re using a Mason jar with a screwtop lid, you could also cut a piece of clean plastic or stainless steel screening and insert it in the lid.
The cheesecloth or screening allows air to circulate and will make rinsing and draining easier.

SPROUTS DAY 1:
The little seeds now need to soak for 8 to 12 hours. Over the next several days, we’ll be rinsing and draining the seeds as they (hopefully) sprout.
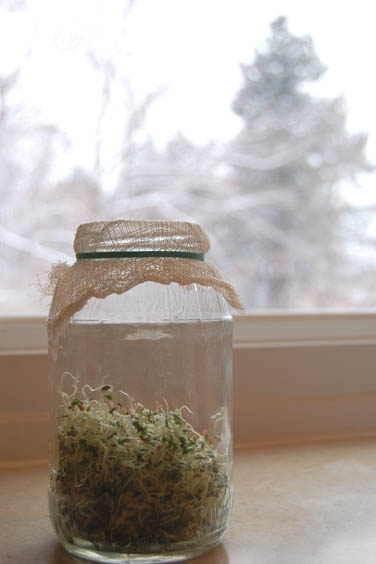
Meanwhile, the alfalfa seeds are resting on the kitchen counter where they should begin to absorb water and miraculously make the leap from dormancy to tiny plants. Here’s a final look at the recycled seed ‘incubator’ with the snow falling in the background.

SPROUTS DAY 2:
After 24 hours, the sprouts seem to be doing fine. I drained the water out last night, and this morning I poured water in the jar right through the cheesecloth and swirled the seeds around to rinse them.
I repeated this rinsing process two times, and then thoroughly drained the water out through the cheesecloth. (This needs to be done every 12 hours, so I’m doing the rinse/drain cycle at 7 a.m. and 7 p.m.)
NOTE: From this point on, the sprouting seeds will only need to be moist and you won’t be soaking them in water.
Here’s a Day #2 picture of the tiny seeds, and if you look closely you can see a few of them are already starting to sprout!

SPROUTS DAY 3:
It’s only the third day of growing sprouts in a jar on the kitchen counter, but our tiny alfalfa seeds are already sprouting! Here’s today’s photo:
I’ve continued to rinse and drain the sprouts every 12 hours, and they seem to be coming along right on schedule.
SPROUTS DAY 4:
Here’s a photo from the fourth day, when I added water to the jar and swirled the sprouts around. You can see how the volume has increased!

To make sure they are thoroughly drained, I’ve been turning the jar upside down on a folded paper towel after giving it the final shake after each rinsing:
SPROUTS DAY 5:
It’s our fifth day of growing sprouts at home, and you can see that they are getting green and starting to break away from the seed hull. Today I drained off about a third of the seed hulls:

SPROUTS DAY 6:
After six days in the kitchen window (and yes, it’s snowing again here), the sprouts are ready for harvest!
After rinsing and draining the sprouts one last time, I measured them:

Two tiny teaspoons of seeds grew to more than one cup of sprouts! The sprouts are fresh, crunchy and so, so good. What a miracle!
How to Store Sprouts
Freshly grown sprouts and microgreens have a short shelf life, so it’s important to store them properly to keep them fresh and safe to eat. Here are some tips:
Keep them dry: Make sure to dry your sprouts thoroughly on paper towels after rinsing them. Excess moisture can cause them to spoil quickly.
Use an airtight container: Store your alfalfa sprouts in a sealed container or ziplock bag to prevent moisture and air from getting in.
Refrigerate: Once you have rinsed and dried your sprouts, store them in the refrigerator to keep them fresh.
Use within a few days: Alfalfa sprouts should be used within a few days of purchase or harvest to ensure freshness and safety.
FAQs
Total growing time can vary depending on the variety of seeds you grow and the amount of sunlight you have, but in general you can expect to have sprouts in about 6 to 8 days.
When the sprouts are ready to eat, we recommend removing them from the jar, rinsing, drying, and storing in a sealed container to keep them fresh. Plan to enjoy them in a day or two.
The most common reason seeds fail to sprout is either too much or two little water. The sprouts need to initially soak in water to sprout, but once they start to sprout they only need to be kept moist — not drowning in water.
It’s very important that you begin with a clean jar before sprouting. Rinse and drain the sprouts thoroughly every 12 hours during the sprouting process. When the sprouts are ready, transfer them to a sealed container with a paper towel on the bottom to absorb excess moisture. Plan to eat them in a day or two.
How to Use Sprouts?

Freshly grown sprouts are nutritious and delicious in a variety of recipes. Here are 10 of our favorite ways to use sprouts:
- In a sandwich: Add a handful of alfalfa sprouts to your sandwich for an extra crunch and fresh flavor. (Sprouts are great with hummus on a veggie sandwich!)
- In a salad: Toss alfalfa sprouts into a salad for added texture and nutrients.
- In a wrap: Use alfalfa sprouts as a filling for wraps with avocado, hummus, and veggies.
- In a smoothie: Blend alfalfa sprouts into a smoothie with fruits and veggies for added nutrition.
- On a pizza: Add alfalfa sprouts to your pizza toppings for a fresh crunch.
- In a stir-fry: Toss alfalfa sprouts into a stir-fry for a healthy crunch.
- In a buddha bowl: Use alfalfa sprouts as a topping for a nutrient-dense buddha bowl.
- In a soup: Add alfalfa sprouts as a garnish to a soup for a fresh and healthy addition.
- In a breakfast recipe: Sprinkle alfalfa sprouts on top of an omelet, in a breakfast burrito, or on avocado toast for a healthy breakfast boost.
- As a garnish: Use alfalfa sprouts as a garnish for any dish, for a pretty pop of color, an added nutritional boost and fresh flavor.
How about you? Have you grown your own sprouts? I’d love to hear about your favorite varieties, and how you use sprouts in cooking. Drop a comment below!
This post was originally published on February 14, 2010 and was updated with new photos and information on May 6, 2023.
Save for Later
If you use Pinterest to save and share ideas, here’s a handy pin:

Eliza Cross is the creator of Happy Simple Living, where she shares ideas to help busy people simplify cooking, gardening, holidays, home, and money. She is also the award-winning author of 17 cookbooks, including Small Bites and 101 Things To Do With Bacon.


What if they got contaminated with fungus? How to avoid that ?
GREAT question! I appreciate you asking this, and have updated the post with additional information about avoiding mold and fungus.It’s very important to begin with a clean jar before sprouting. Excess moisture is the enemy of sprouts, so rinse and drain the sprouts thoroughly every 12 hours during the sprouting process. When the sprouts are ready, transfer them to a sealed container with a paper towel on the bottom to absorb excess moisture. Plan to enjoy them in a day or two. Thanks again for your comment! ~Eliza
Thank you for this post. I am excited to get some sprout seeds and try this out.
Debbie, thank you for your kind words and I bet you’ll use those home-grown sprouts in some amazing recipes! xxoo ~Eliza
I’m wondering if anyone who sprouts has had trouble with their sewer/septic lines? I try very hard to trap all the hulls (and potential “late starters”) when I rinse. It’s very time-consuming, and a few have gotten away in spite of my best efforts.
Am I worrying about nothing?
Sunnie,
Can you put a drain strainer in the sink drain so the hulls don’t go down? Good luck!
~Eliza
What a great idea, not to mention a nice way to cure the winter blues. ;) Is there a certain size of jar that works better?
To sprout 2 to 3 teaspoons of alfalfa seeds, I’d suggest a jar in the 18-24 ounce range so that you have plenty of space for rinsing, air circulation and seed growth. Hope this helps!