
If you’ve ever wished your homemade pizza tasted more like it came from your favorite pizzeria, this poolish pizza dough is the recipe to try. A poolish is a simple mixture of flour, water, and a tiny amount of yeast that’s left to ferment overnight, developing deep flavor and helping create a light, chewy crust with beautiful air pockets.
While it takes about 24 hours from start to finish, most of that time is completely hands-off, so the dough does the work while you go about your day. (If you’re looking for quicker recipe, check out my New York Style pizza dough, which rises in 4 hours.)
The ingredients are simple, the process is easy, and the results are well worth the wait. Once you’ve tasted pizza made with a poolish, it might become your new go-to pizza recipe!
Note: This post was originally published on April 29, 2012, and has been updated with new photos and information.
The first time I made a homemade pizza, I was amazed at how much better it was than delivery pizza. The improvement in flavor was like comparing a home-grown summer tomato to one of those hard, pink, grocery store varieties – worlds apart.
After taking a pizza baking class from my local Slow Food chapter at the Whole Foods bakery, I was hooked. The professional bakers taught us some tricks for making really good homemade pizza, and now I’m going to share them with you – along with everything else I’ve learned about cooking pizzas nearly every week in a home oven.
If making homemade pizza sounds like a lot of trouble, I’m going to share our simple method—and you don’t need any fancy ingredients or equipment. I prepare the dough ahead and freeze several batches so we can have fresh pizza whenever we like.
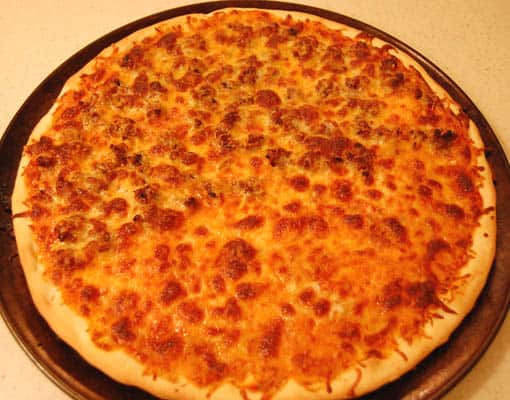
I can easily prepare my family’s favorite homemade pepperoni pizza faster than one can be delivered from one of the pizza chains. Best of all, even though we use all-organic fresh ingredients it’s less than a third of the cost of a delivery pizza.
How to Make the Poolish
The base of the recipe is a Poolish, or “sponge” that you make one day ahead. This pre-fermenting step allows more time for yeast and enzymes to develop starch and proteins in the dough, which in turn creates greater complexities of flavor.
The dough also goes through several steps of rising and kneading. The resulting crust is fantastic – crisp and slightly chewy, similar to what you might get in a great wood-fired pizza restaurant.
The recipe calls for bread flour, which has a 12 to 14 percent protein content and will make the nice, elastic dough that creates great pizza crust. But if you don’t have bread flour, don’t worry! Just use all-purpose flour and it’ll turn out fine.
(For another flour variation, you might enjoy making pizza dough with spelt flour. It has a nutty, mild wheat flavor and slightly more rustic texture.)
Also, you’ll save a ton of money if you pick up a bag of all-purpose instant yeast instead of using those little packets. The recipe below will work just fine with either type of yeast.
Are you ready to get started and make some amazing homemade pizzas?
Step by Step Directions
Note: You need to start this recipe 24 hours before you want to bake pizza. For a same-day pizza, check out my New York pizza dough recipe. Scroll down for the printable recipe card if you prefer.
Make the Poolish:
- 1 1/4 cups bread flour (150 grams)
- 2/3 cup water at 70 degrees F
- 1/4 teaspoon instant dry yeast
In a medium bowl, mix together the flour, water, and instant yeast until well blended. Cover and let sit at room temperature for 12 to 18 hours.
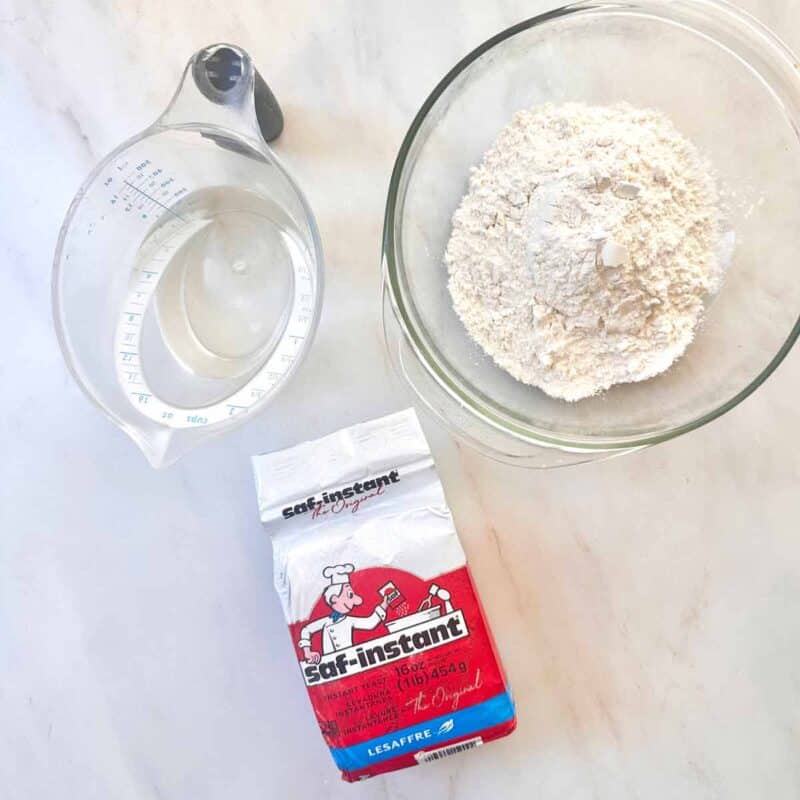

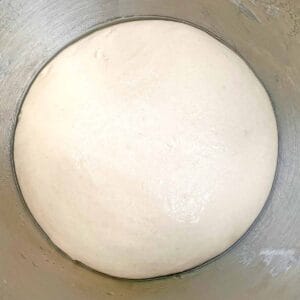
Cover and let sit at room temperature for 12 to 18 hours. The poolish will rise and look spongy, like this:

Pizza Dough Recipe:
- 4 1/4 cups bread flour (510 grams), plus extra for sprinkling
- 1 1/2 cups hot water at 140 degrees F, or as hot as you can get it from the tap
- 1 3/4 teaspoons sea salt
- 1 1/2 teaspoons instant dry yeast
- 2 tablespoons extra-virgin olive oil
- 1 1/2 teaspoons honey
- 1 recipe Poolish (see above)
Combine the flour, hot water, salt and yeast by hand, just until incorporated. Let the dough rest, covered, for about 30 minutes.
Add the olive oil, honey and Poolish and mix by hand until incorporated, kneading for about 2 minutes. Let the dough rest again, covered, for another 30 minutes.
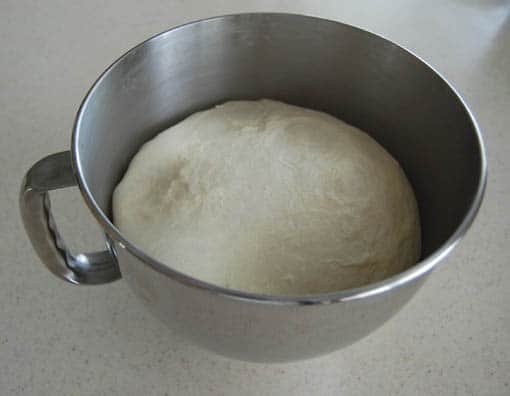
On a lightly floured work surface, knead the dough for 5 minutes. (If you want, you can use the dough hook on your stand mixer to do this.)
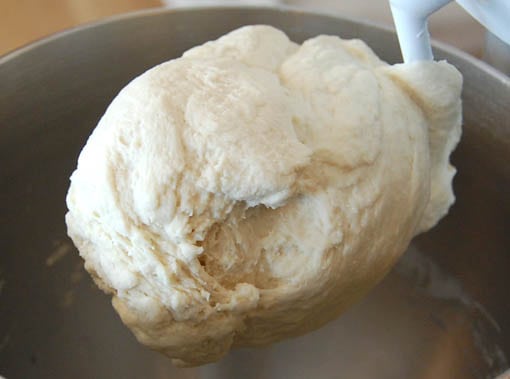
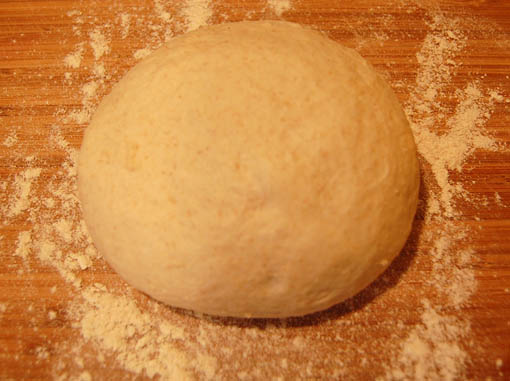
Cover and rest for 20 minutes. Knead the dough for another 5 minutes, then cover and rest for another 20 minutes.
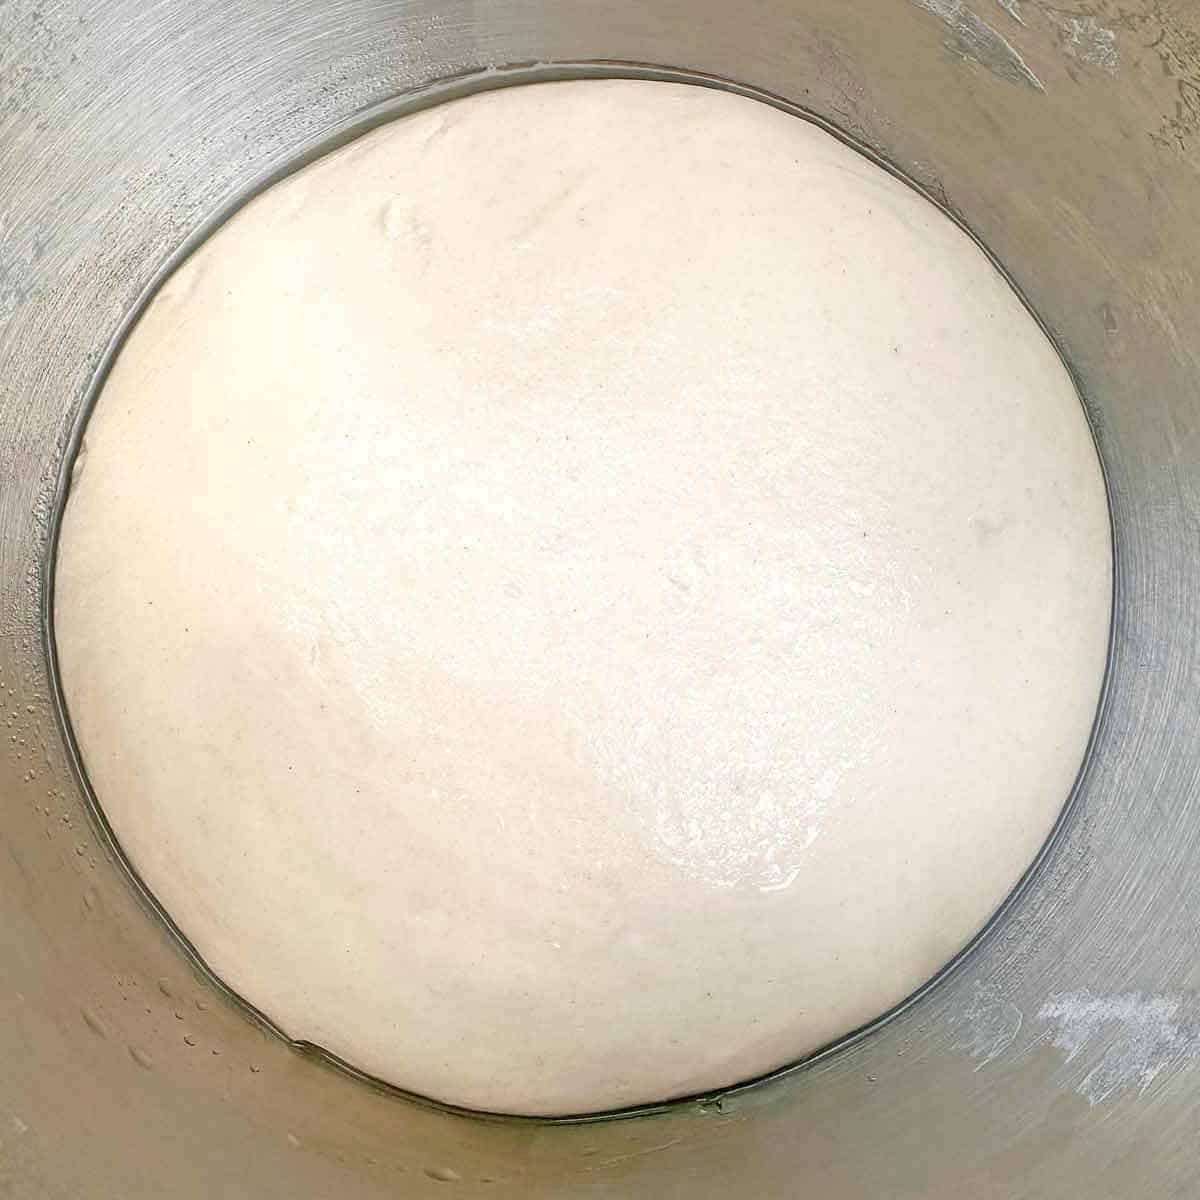
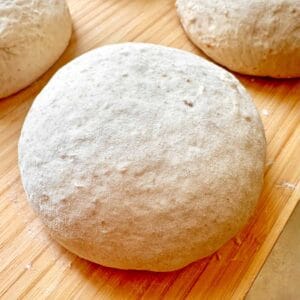
Divide the dough into 4 or 5 pieces, lightly pre-shape into round pieces and cover and rest for 20 more minutes. Bake according to directions below.
Freezing the Dough

I freeze unbaked pizza dough by separating it into half-pound balls. After flattening the balls slightly, I freeze them in individual zip-lock plastic bags that I’ve brushed with a little olive oil.
I thaw the dough in the refrigerator 24 hours prior to cooking, or on the counter for about an hour prior to cooking. (To reuse the bags, just tuck them back into the freezer until the next time you make pizza dough.) You can freeze pizza dough for up to 3 months.
Cooking the Pizza
I’ve experimented with different techniques, and I keep coming back to simply shaping and baking the pizza on a plain old round metal pizza pan. I bought ours for $10 a few years ago, and it cooks the pizza perfectly–browned and crispy on the bottom, and chewy on top.
Preheat the oven to 550 degrees F or your oven’s highest setting, and put the oven rack right in the middle. If you have a convection setting, turn it on.
If you have a pizza stone you want to use, put it in the oven on the rack now and let it get nice and hot. If you don’t have a pizza stone, no problem – your pizza is still going to be crispy, chewy and GREAT.
Now, use your hands to pat and stretch the dough on lightly greased baking sheet to the desired shape and thickness. I don’t recommend using a rolling pin, because it will compress the dough and eliminate those wonderful air bubbles that give your pizza crust snap.
Initially the dough may keep pulling back, and it may seem like it will never fit the pan. But keep working with it, and in a few minutes it will relax and stretch out.
We like our pizza crust quite thin, so I try to stretch it as far out as possible without tearing the dough:
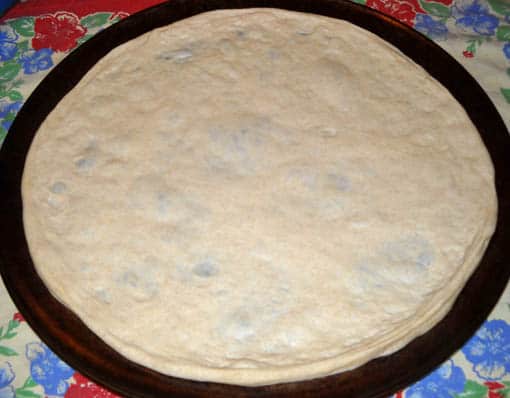
I like to bake the untopped pizza in the oven for three minutes to set the crust. This keeps the pizza from getting soggy when you add the sauce and toppings. Remove the pale, barely-baked crust from the oven:
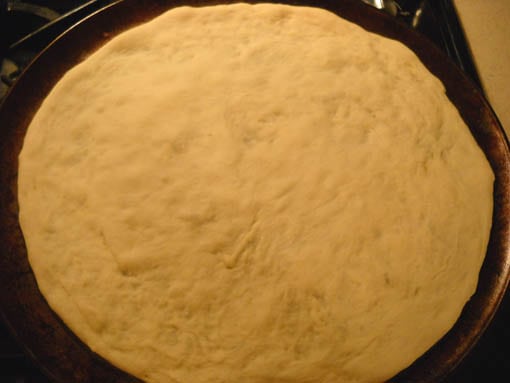
Next, add your pizza sauce. I highly recommend my family’s favorite Homemade Pizza Sauce recipe, which you can quickly put together while the dough is rising.
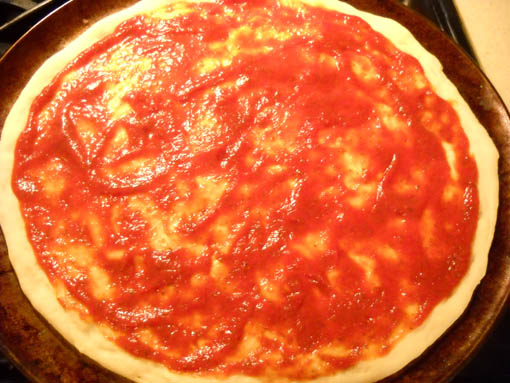
Finally, add your toppings.
You likely have your own favorite combination of ingredients, but if you’re looking for fresh inspiration be sure to check out our giant list of 75+ best homemade pizza toppings.
Here’s a pie we made recently topped with sliced fresh Roma tomatoes, fresh mozzarella slices, spinach and basil:
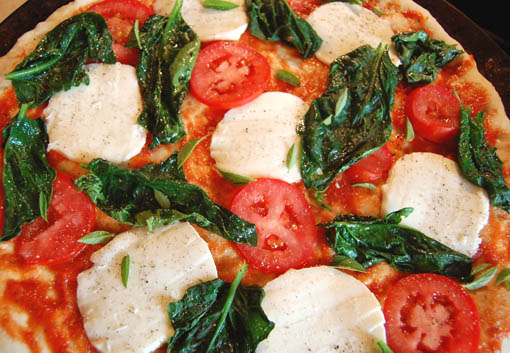
You can make the pie half-and-half for family members who like different toppings:
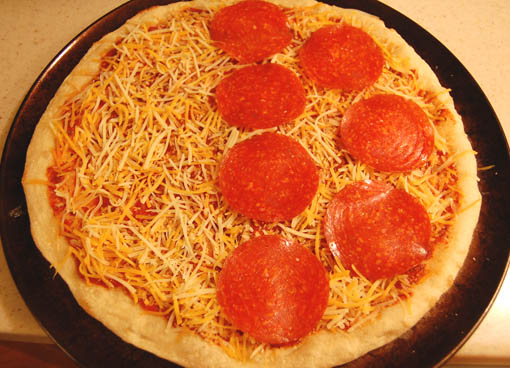
If you prebaked the pizza for three minutes, you can now easily slide it on a hot pizza stone if you like.
Bake for 8 to 10 minutes if you’re baking it on the pan, or until the edges of the crust are a golden brown and the cheese is bubbly. (One of the things the professional bakers said in our class is, “Home cooks never cook their pizzas long enough.” So make sure the crust is good and golden brown before you take it out of the oven.)
Here’s a pie we made with half cheese, half Canadian bacon:
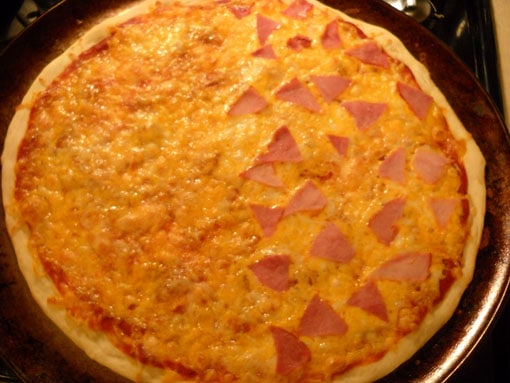
Cool for a few minutes, cut and serve. Each pizza dough ball makes one 12 to 14 inch pizza.
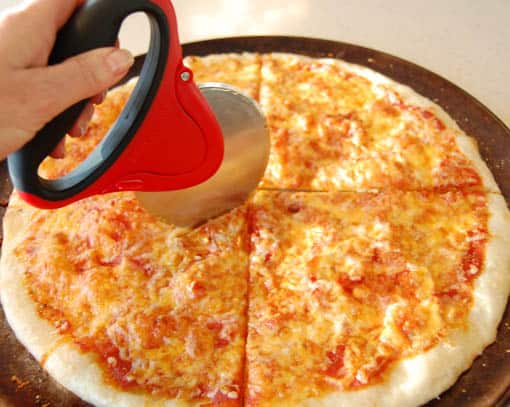
I hope this long post will inspire you to bake some amazingly delicious pizza pies at home. Whether you regularly make homemade pizza or are ready to give it a try for the first time, I’d love to hear your thoughts, questions, suggestions and experiences so drop a comment below.
Printable Recipe Card
Pizza Dough Poolish Recipe
Equipment
- mixing bowl
- stand mixer with dough hook optional
- kitchen scale
Ingredients
For the Poolish:
- 1 1/4 cups (150 g) bread flour
- 3/4 cup water at 70 degrees F
- 1/4 teaspoon instant dry yeast
For the Pizza Dough:
- 4 1/4 cups (510 g) bread flour plus extra for sprinkling
- 1 1/2 cups hot water at 140 degrees F
- 1 3/4 teaspoons sea salt
- 1 1/2 teaspoons instant dry yeast
- 2 tablespoons extra-virgin olive oil
- 1 1/2 teaspoons honey
Instructions
- To Make the Poolish: In a medium bowl, combine the bread flour, water, and instant yeast. Stir until no dry flour remains and a shaggy batter forms.
- Cover the bowl and let the poolish rest at room temperature for 12 to 18 hours, until bubbly and doubled in size.
- To Make the Pizza Dough: In a large bowl, combine the bread flour, hot water, salt, and instant yeast. Mix just until a rough dough forms. Cover and let rest for 30 minutes.
- Add the olive oil, honey, and prepared poolish. Mix until fully incorporated, then knead by hand for about 2 minutes. Cover and let rest for 30 minutes.
- Transfer the dough to a lightly floured surface and knead for 5 minutes, until smooth. Sprinkle with just enough flour to knead the dough without it sticking. (Alternatively, knead with the dough hook of a stand mixer.)
- Cover and let the dough rest for 20 minutes.
- Knead the dough for another 5 minutes. Cover and let rest for 20 minutes more.
- Divide the dough in 4 equal portions. Gently shape each into a ball, cover, and let rest for 20 minutes before shaping into pizzas, adding toppings, and baking.
Notes
Nutrition
Save for Later
If you use Pinterest to save and share recipes, here’s a pin for this recipe:


Eliza Cross is the creator of Happy Simple Living, where she shares ideas to help busy people simplify cooking, gardening, holidays, home, and money. She is also the award-winning author of 17 cookbooks, including Small Bites and 101 Things To Do With Bacon.



Thank you Liz for giving me the ingredients for Pizza. I went through dozens of cites that gave me dough, dough and more dough. I have my dough, I wanted the stuff that goes on the dough and you finally gave it to me, I will be eating my favorite pizza which is cheese tomato sauce and sausage tonight. I can hardly wait. Thanks again and again.
Are you using a Pampered Chef pizza stone at that high temp? I want to use my stone but I am not sure if that is too high.
HI,
I like your pizza recipe. I tried it last time but with store bought pizza sauce. After the pizza is baked, it tasted bitter. Do you think of any possible reasons? I used yeast packtes that said pizza yeast. I think I might have used more sauce.
Nice article..will try again this weekend.
AK
Yum!!! Those pizzas look fabulous. You know, I was wondering what you think. Is ordering a pizza frugal? How cheap would it need to be?
Seems like of the many food choices one may have, pizza is a pretty cheap one to me! :)
Awesome article,
Sam
One of the best treats ever is pizza on the grill. Have you done that? Pre-grill one side and then top the grilled side and put it back on to finish the bottom. So so so delicious. I can’t wait to make my own crust and try it again this summer! I’m glad I found this blog!
Adriane, I so appreciate your specific directions and I’m going to try grilling some pizzas the way you suggested when the weather warms up a bit. Thank you!!! xoxo
I just wanted to thank you for the wonderful recipes on this site. I am a seasoned cook and love collecting and trying new recipes… : )
Thank you for your sweet comment, Deborah Ann. I’m glad you enjoy the recipes, and I love to try new ones, too! xo
I really liked your instructions and having a convection over and the max I can set it is 500 degrees. For the first 3 minutes to “set” the pizza dough. It was perfect. However I found cooking the complete pizza at 500 was too high as the crust burnt on me. I had the timer set at 10 minutes, but thankfully checked it at 8 minutes.
Next time, I’ll drop the temp down to 475 or 450 which I think will turn out a great pizza.
Thanks for sharing your experiences, Rockee. I find that I have to experiment with timing depending on the crust thickness, too. I hope your pizzas are coming out great now. xo