


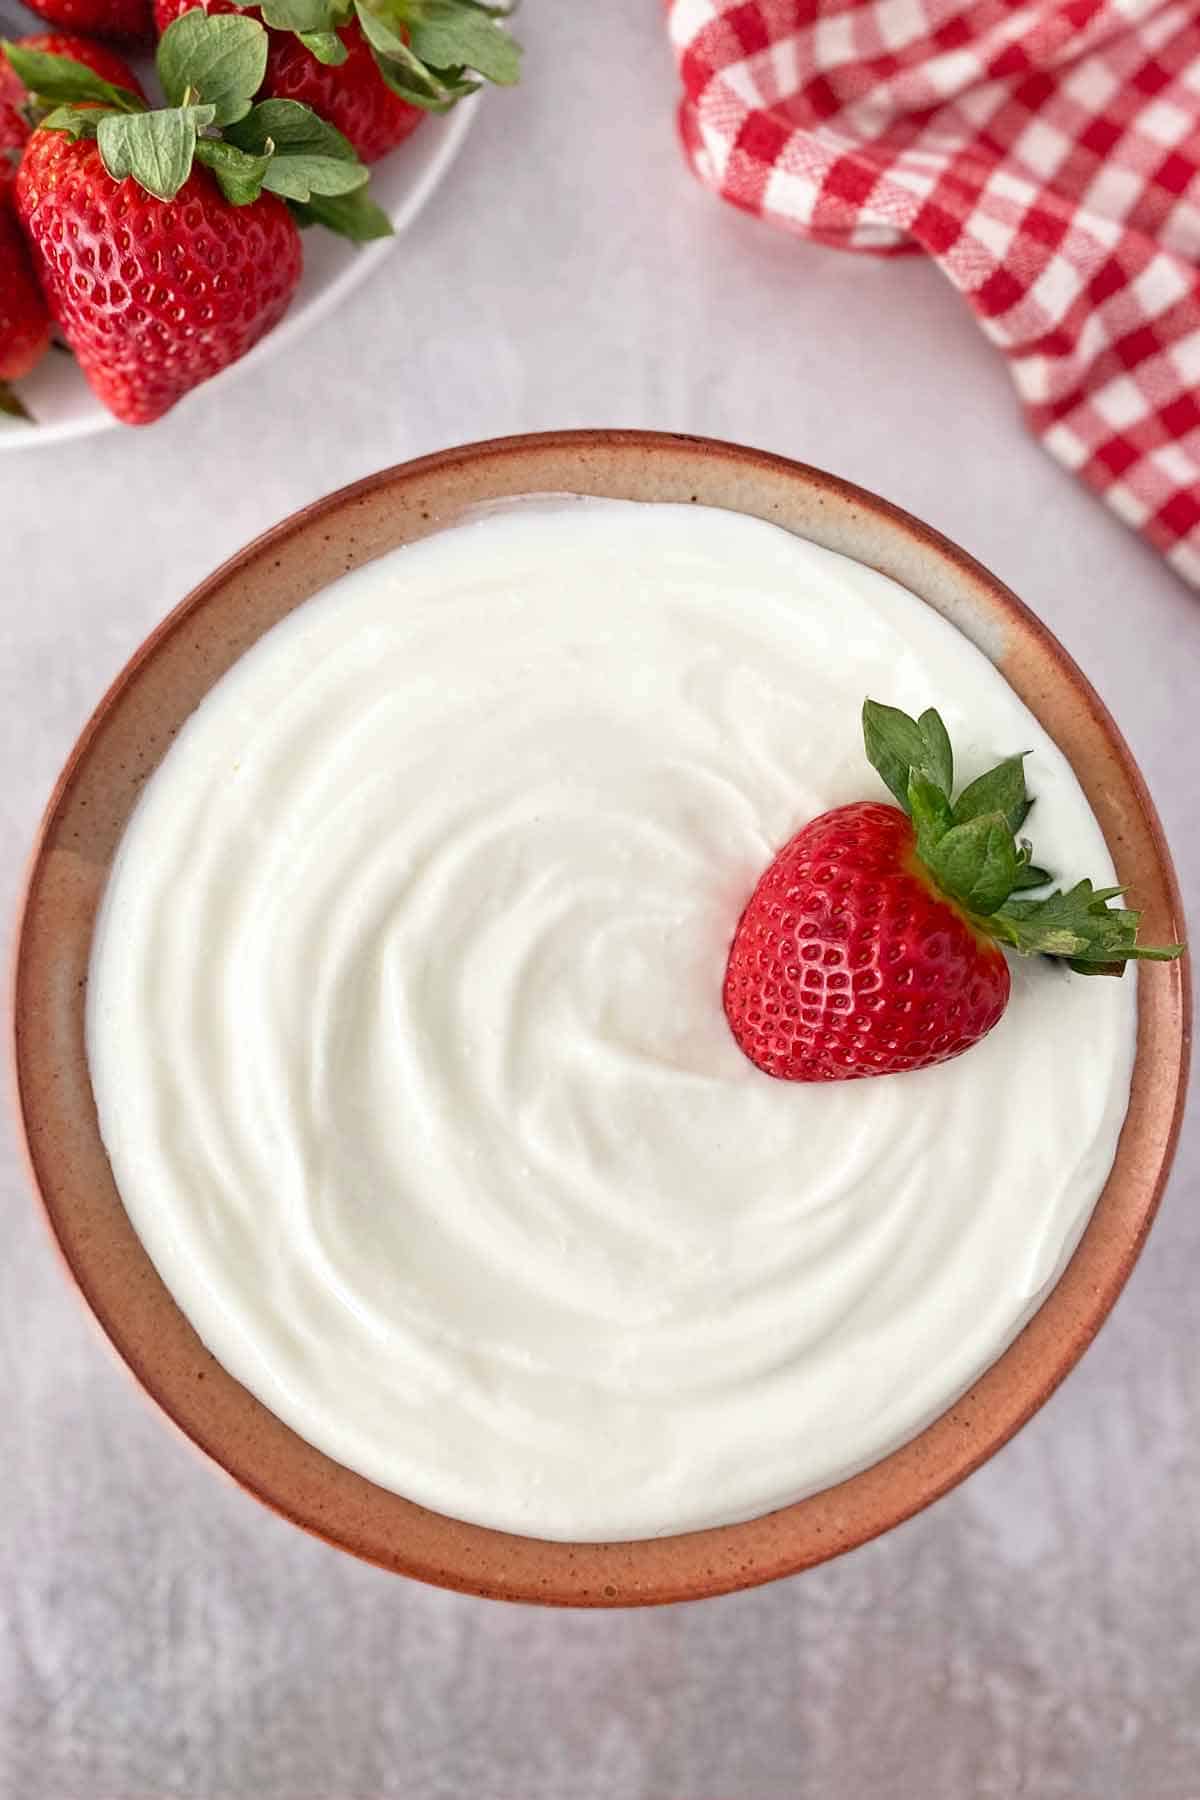
Have you ever wanted to make your own Greek yogurt? I’ve made this recipe countless times, and you can, too. Just follow the easy directions and enjoy thick, creamy homemade Greek yogurt any time you like.
I first published this recipe on March 6, 2011. Hundreds of readers added comments and questions over the years, so now I’ve updated the post with new photos and more information.
Back in 2011 a blog was often like an online diary, but these days most readers want the information presented quickly and concisely. “We don’t want to read your life story!” they say, so I’ve removed my original scintillating intro about tasting FAGE Greek yogurt for the first time at my aunt’s home.
There’s even a “jump to recipe” button at the top of the post now, so you can skip the step by step tutorial if you wish and go straight to the printable recipe card. What a time to be alive!
Shall we make some delicious homemade Greek yogurt?
This post may contain affiliate links. Please read our disclosure policy.
Why You’ll Love This Recipe
Amazing Flavor and Texture: Thick, creamy Greek yogurt compares to regular yogurt like a home-grown tomato compares to a February grocery store tomato; it tastes a kazillion times better!
Economical: If you eat a lot of Greek yogurt like I do (almost every morning), the cost can add up. Making your own yogurt from scratch is easy and saves money!
All Natural: You’ll have total control over the ingredients, so you can avoid the additives in store-bought yogurt and make a very pure product.
Ingredients Notes
You only need two simple ingredients to make 48 ounces of your own fantastic, creamy, thickened yogurt:
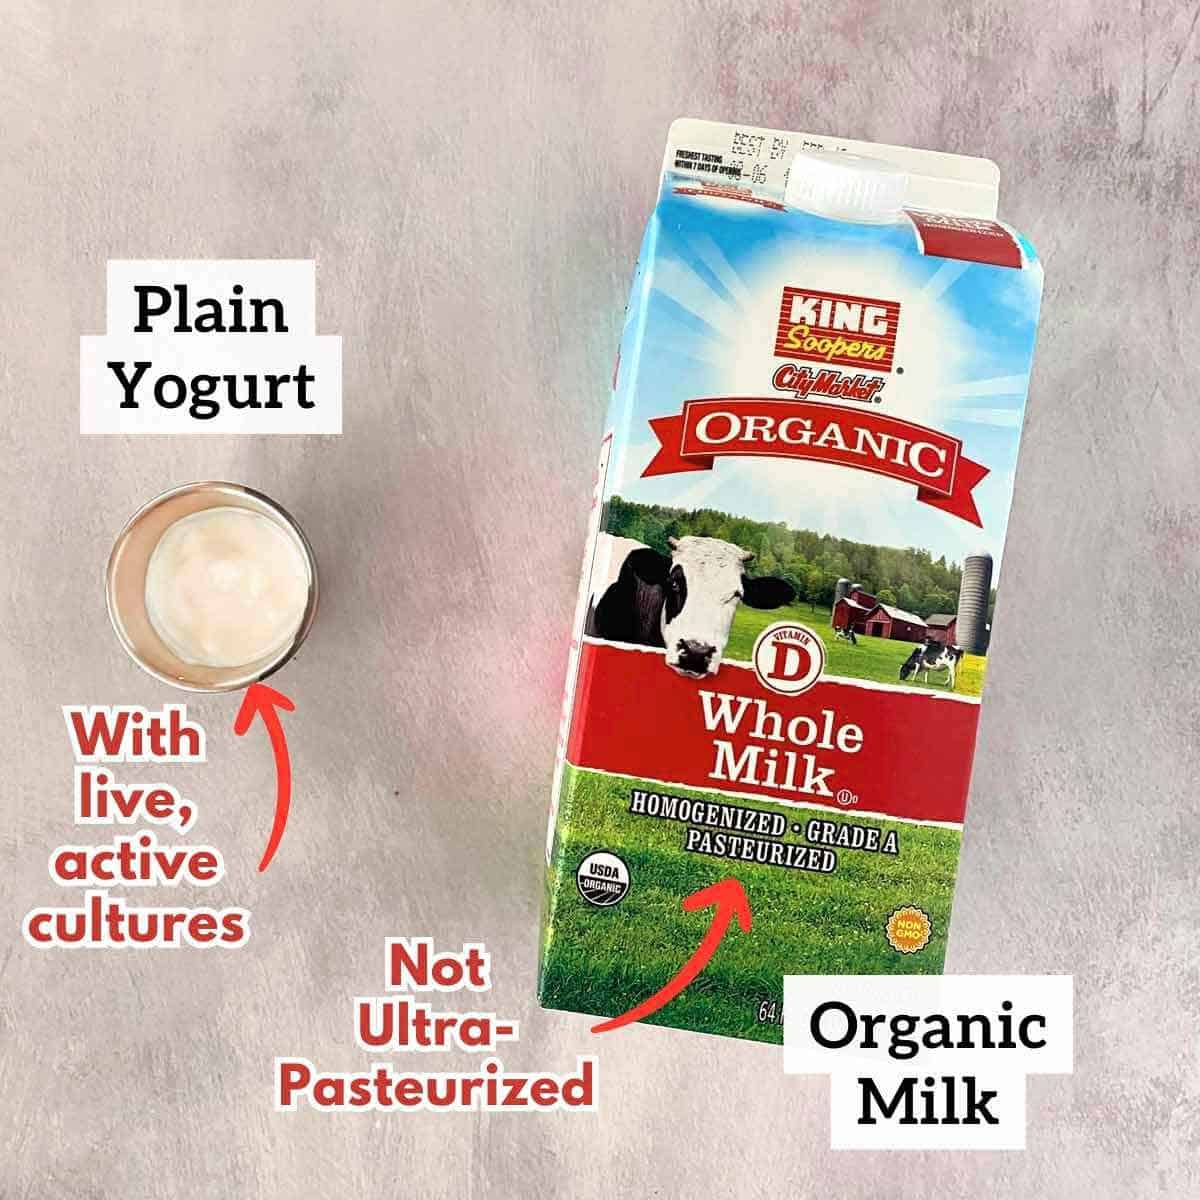
1/2 gallon milk – fat content of your choice. I generally use organic whole milk or 2% milk. The higher the fat content in the milk you use, the creamier your yogurt will be.
Note: I prefer to prepare this recipe with organic milk, which is produced without any synthetic chemicals, hormones or antibiotics. (Antibiotics may interfere with the yogurt-making process.)
Make sure you use regular pasteurized milk instead of ultra-pasteurized. Why? Ultra-pasteurized milk is briefly heated at a high temperature that can kill the live cultures in the milk.
2 to 3 tablespoons plain prepared yogurt (make sure it contains live, active cultures)
Note: After making your first batch, you can simply save a couple tablespoons of your homemade yogurt to start the next batch. I love that this process becomes indefinitely sustainable!
Money Saving Tip
If your grocery story has a bargain section in the dairy case, check for organic milk that is nearing its expiration date.
This milk is perfect for yogurt making, and is often sold at a discount.
Cooking Equipment
Here’s what you’ll need to prepare this homemade Greek yogurt recipe:
- Cooking thermometer – either a candy thermometer or an instant-read thermometer work best
- Large mesh strainer
- Mixing bowl that the strainer fits inside, so the yogurt can drain
- Cheesecloth to fit 4 layers when draped over the strainer
Step by Step Directions
To make regular yogurt without a yogurt maker, I’ve always followed the basic recipe in the Joy of Cooking cookbook.
The finished yogurt is then strained through cheesecloth for a few hours to release extra whey and liquids and transform into creamy Greek yogurt. Here’s the process:
STEP ONE: To begin, pour 2 tablespoons of the milk in a small bowl and reserve.
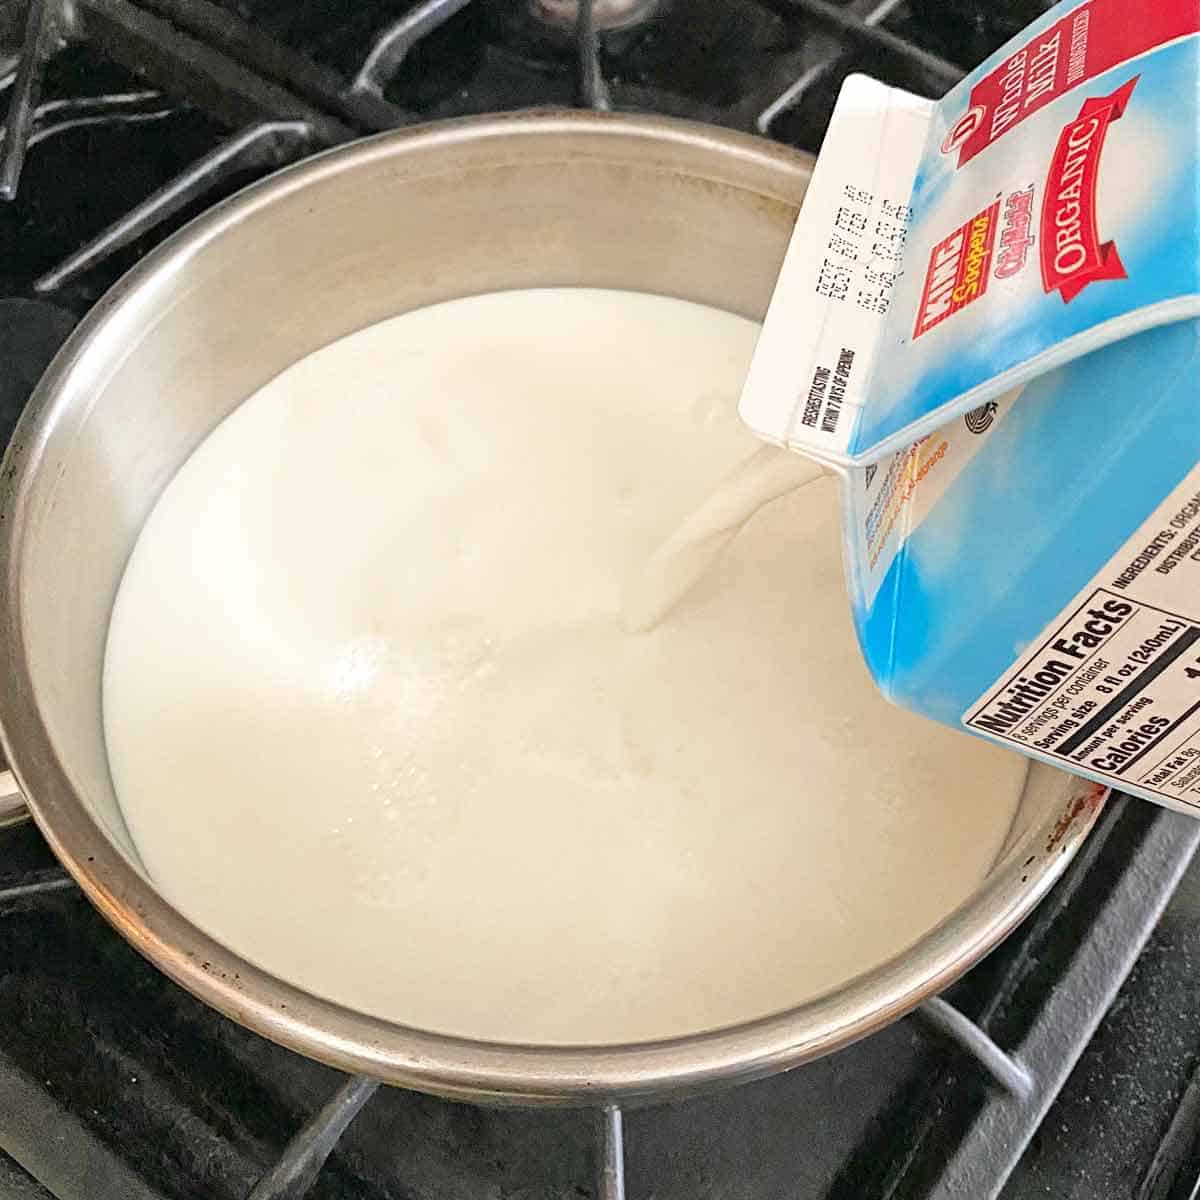
STEP TWO: Pour the rest of the milk into a double boiler or heavy-bottomed pan and turn the heat to medium. If using a double boiler, cover the milk. If the pot is directly on the burner, stir it and watch it very, very carefully so you don’t burn the bottom.
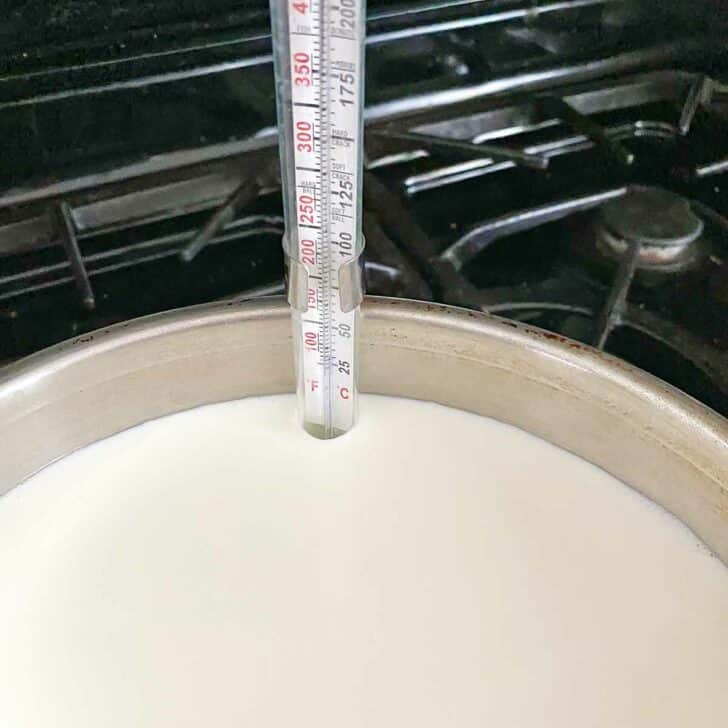
STEP THREE: Heat the milk to 180 degrees F. It helps to clip a candy thermometer to the side of the pan so you can carefully watch the temperature as it rises. Or you can check frequently with an instant read thermometer.
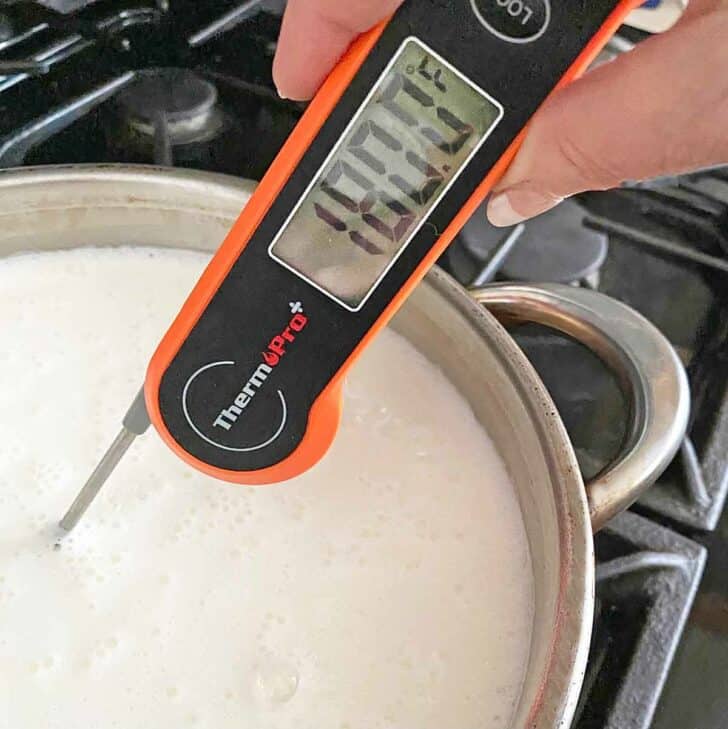
STEP FOUR: As soon as the temperature reaches 180 degrees, F, immediately remove the pot from the stove. Pour the milk through a wire mesh strainer into a 3 quart baking dish and leave it uncovered.
Put the dish on a cooling rack at room temperature, and let the milk cool to between 105 and 110 degrees F. Stir it a few times during the cooling process to prevent a “skin” from forming on top of the milk.
In our kitchen, this took about 50 minutes. (Note: remember to leave the dish completely uncovered at this stage, so the good bacteria from the air can start working their magic!)
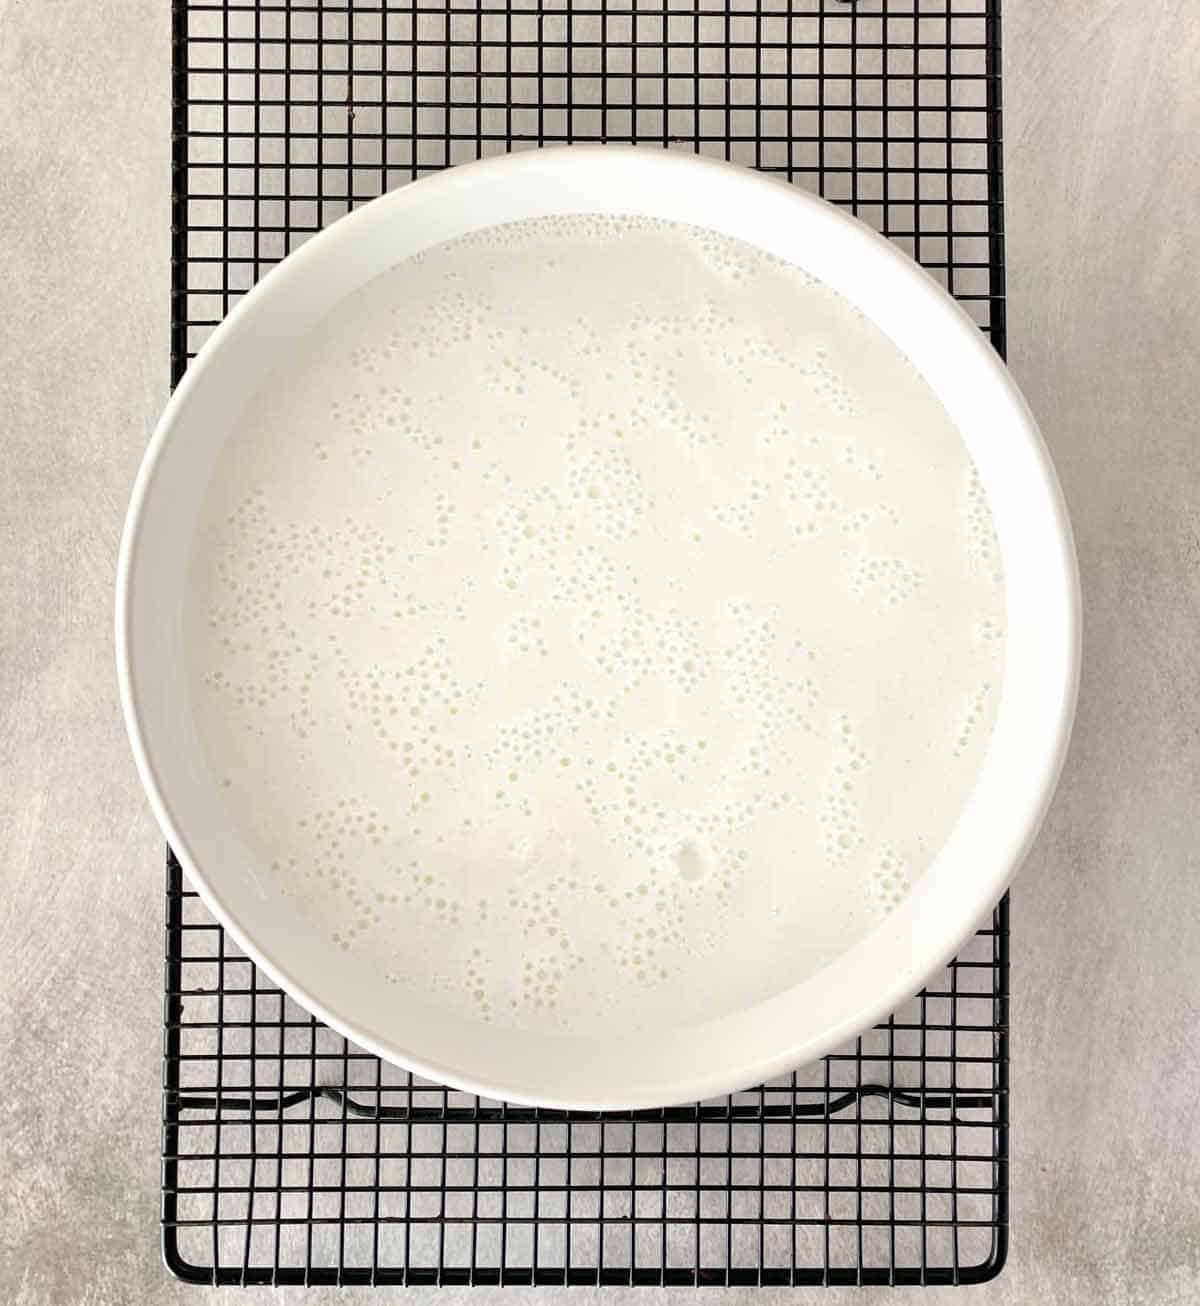
STEP FIVE: While you’re waiting for the milk to cool, turn on your oven to the “warm” or “proof” setting. If your oven doesn’t have that setting, turn it to 150 degrees F.
STEP SIX: Combine the 2 tablespoons of milk you saved with 2 1/2 tablespoons prepared yogurt in a small bowl and reserve.
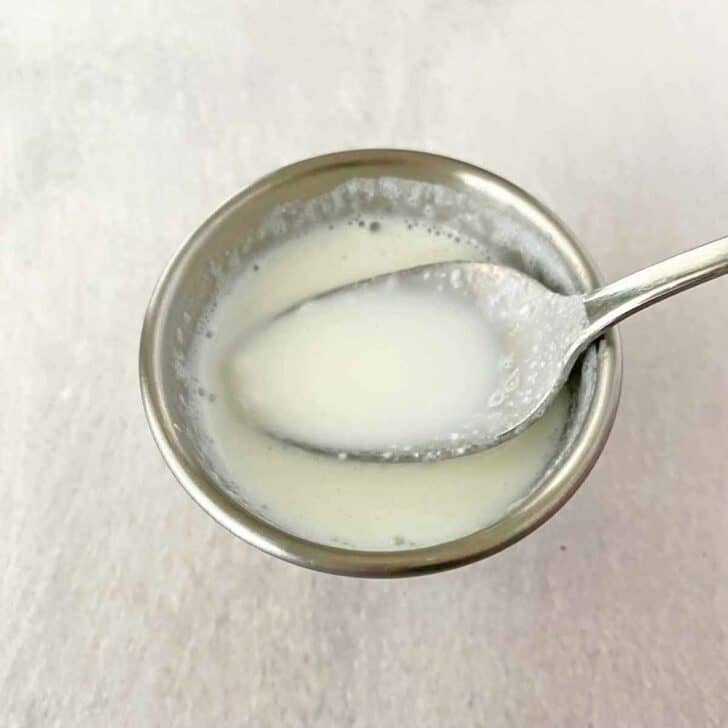
PRO TIP: Resist the temptation to add more than 3 tablespoons yogurt. According to the Joy of Cooking, “you may wonder why so little starter is used and think that a little more will give a better result. It won’t. The bacillus, if crowded, gives a sour, watery product.”
STEP SEVEN: Once the milk has cooled to between 105 and 110 degrees, add the yogurt-milk mixture and stir well to combine. (Don’t forget this important step.) Put the lid on the casserole dish and cover it with a dishtowel to help insulate it from temperature fluctuations.
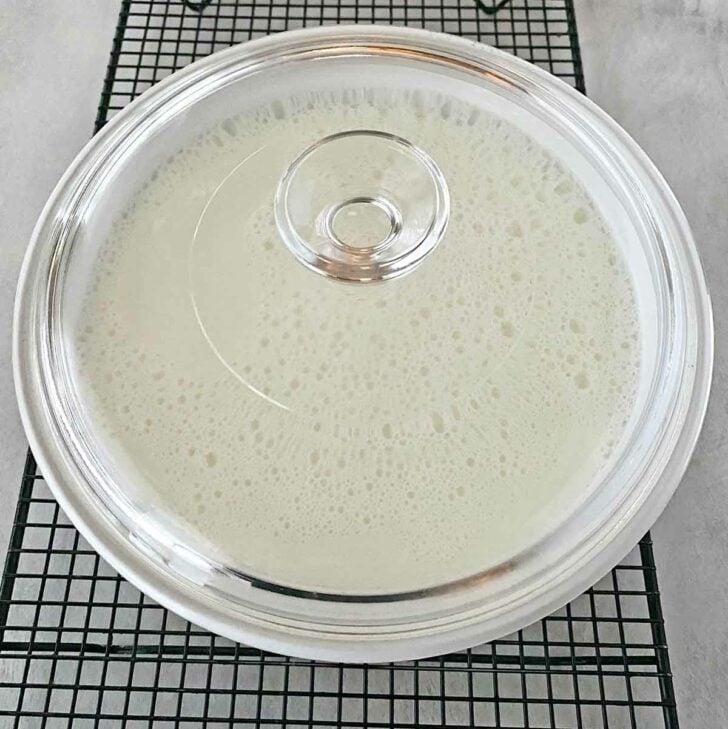
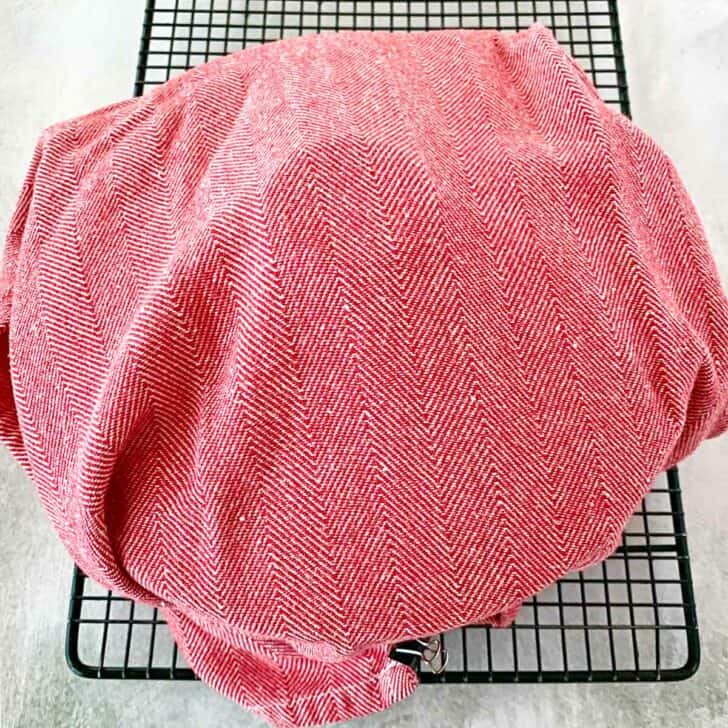
STEP EIGHT: Turn your oven off, but now turn the oven light on. Just the light from the oven should keep the dish warm enough to enable the yogurt-making process.
Put the towel-covered dish in the oven, making sure that the towel isn’t touching the oven lightbulb, and leave the oven light on.
Note: If your oven light doesn’t emit any heat, you can alternately put the towel-covered dish on a heating pad set on “low,” or put it in a cooler with a snug-fitting lid and several sealed jars of hot water to maintain the heat.
Leave the yogurt undisturbed for 7 or 8 hours, or overnight.
STEP NINE: In the morning, carefully take the dish out, unwrap it and remove the lid, and check to see whether the milk has turned to yogurt. After ten hours, this is how our yogurt looked:
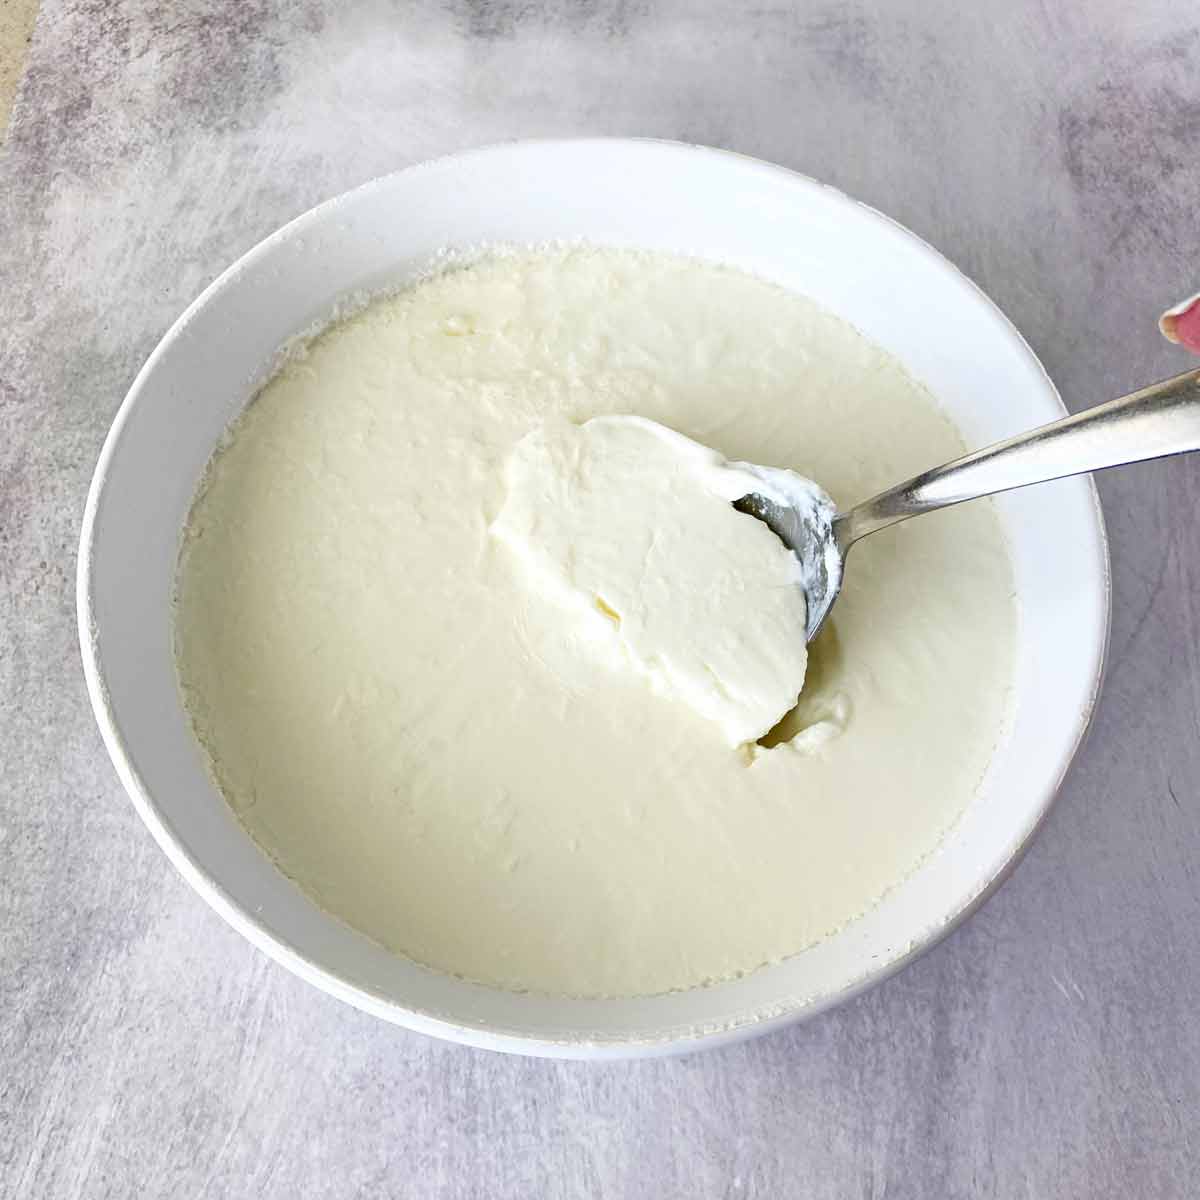
If your batch isn’t quite thickened, return it to the oven and check on it again in an hour. Once the yogurt is sufficiently thickened, you can stop at this stage if you want regular yogurt. Just stir the mixture and refrigerate it; you may need to pour off a little of the watery liquid. Don’t forget to turn off the light in your oven!
STEP TEN: For creamy Greek yogurt, refrigerate the yogurt in the covered dish for at least three hours to allow it to completely cool and thicken.
Meanwhile, line a large strainer with four layers of damp cheesecloth and find a bowl that the strainer will fit inside:
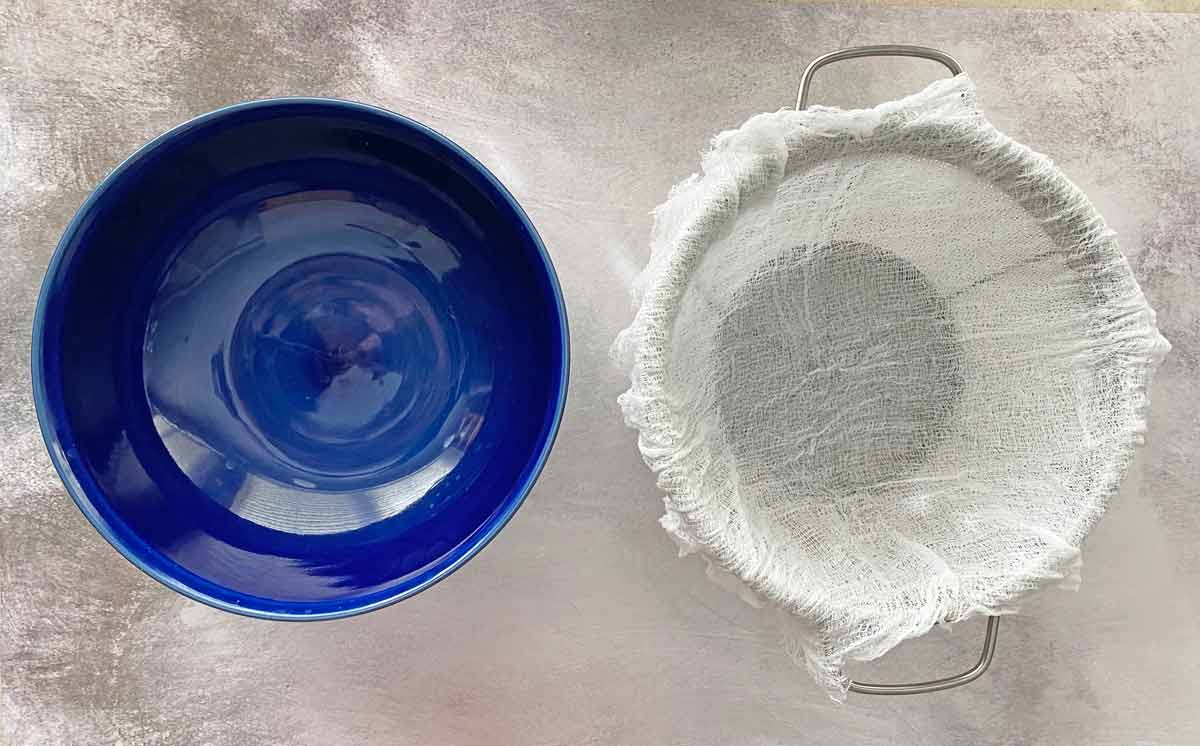
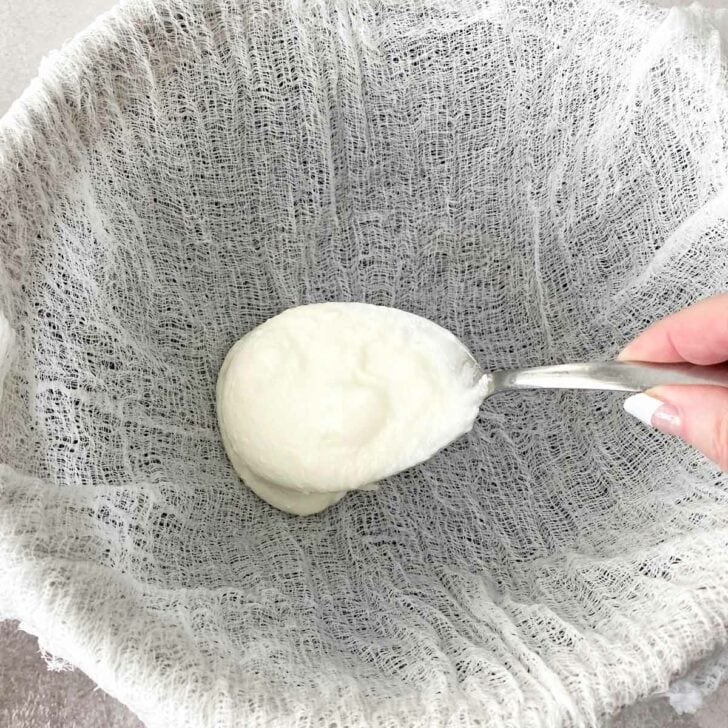
STEP ELEVEN: Put the strainer inside the large bowl, and spoon in all the yogurt to start the straining process.
Refrigerate for one hour. Pour out the liquid that has accumulated in the bottom of the bowl. This is the whey—that’s right, the very same delicacy Little Miss Muffet ate while she was sitting on her tuffet.
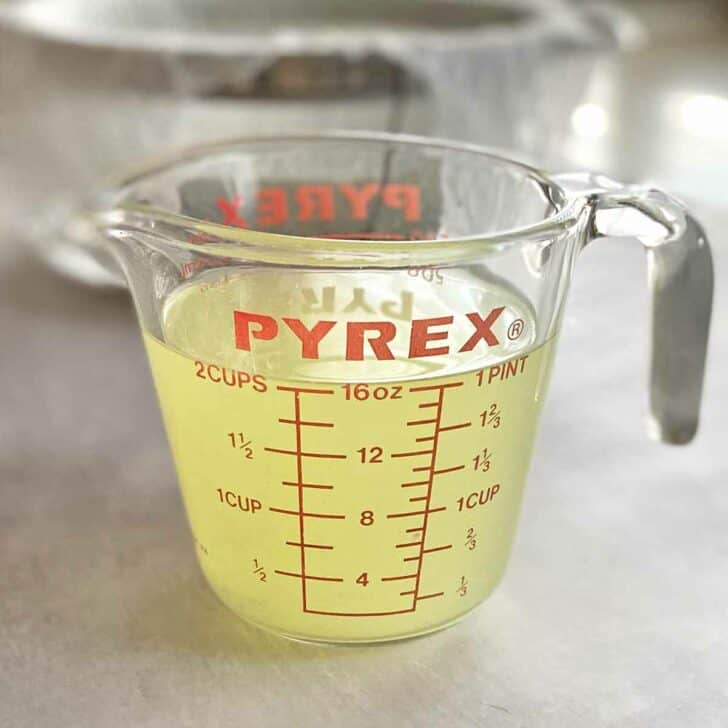
You can save the whey and use it for cooking or baking (like this yummy Whey Sourdough Bread).
Return the bowl to the refrigerator for one more hour, and strain the liquid again. Our batch drained off about two cups of whey, but you may have more or less and that’s fine.
The yogurt should now look thick and creamy:
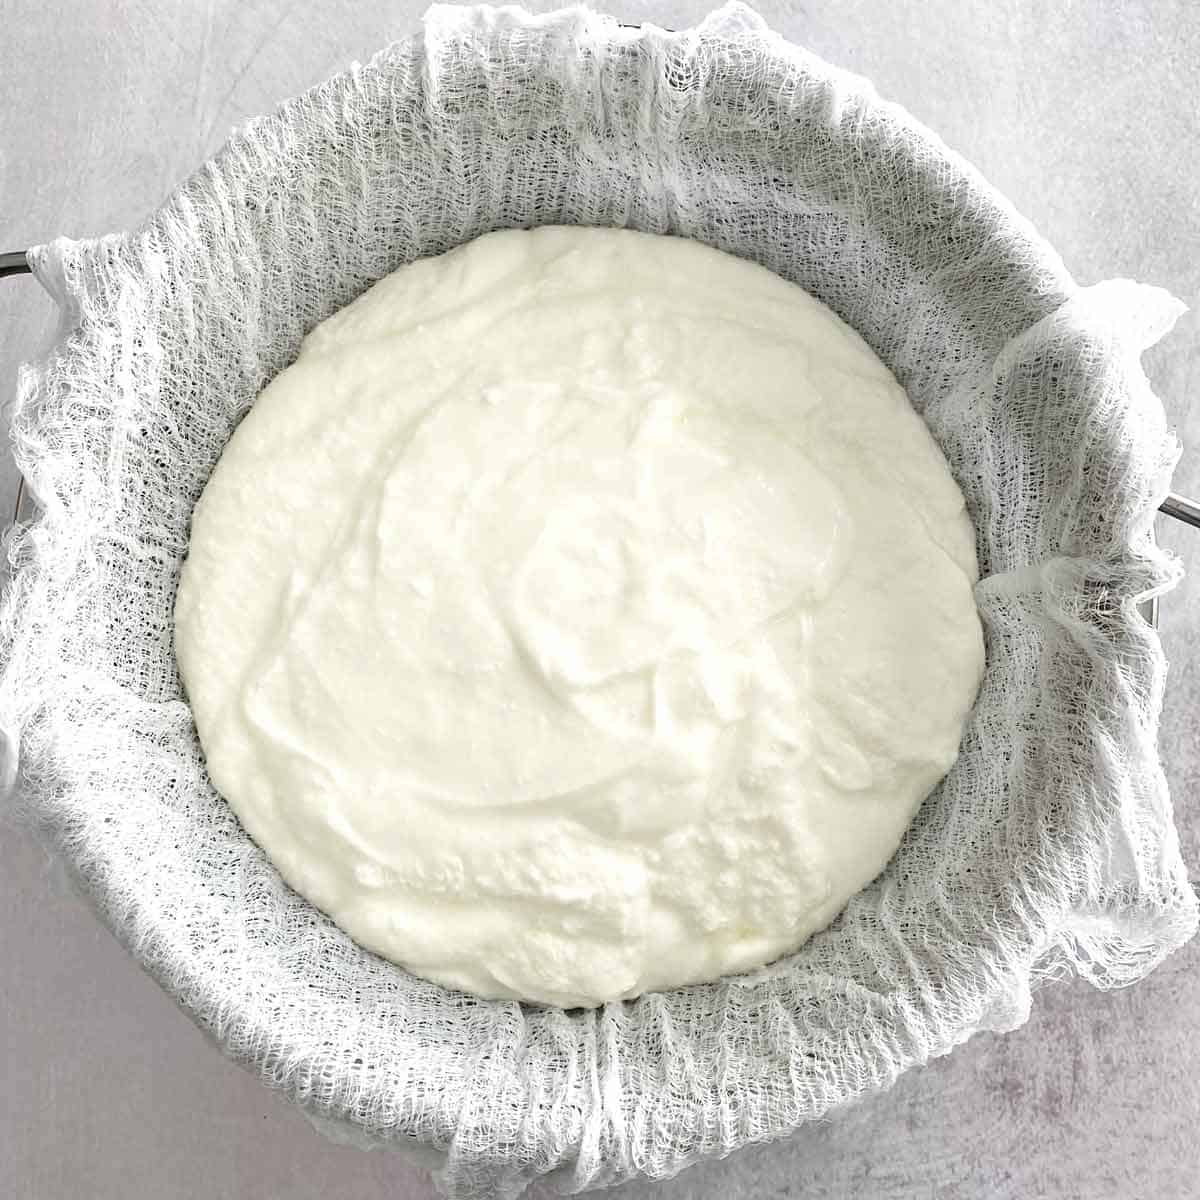
STEP TWELVE: It’s ready to serve! Transfer it to a bowl and stir it for a minute or two to smooth the thick yogurt before serving. Or spoon it into a container and refrigerate it, tightly covered, for up to a week. Makes about 6 cups, or 8 6-ounce servings.
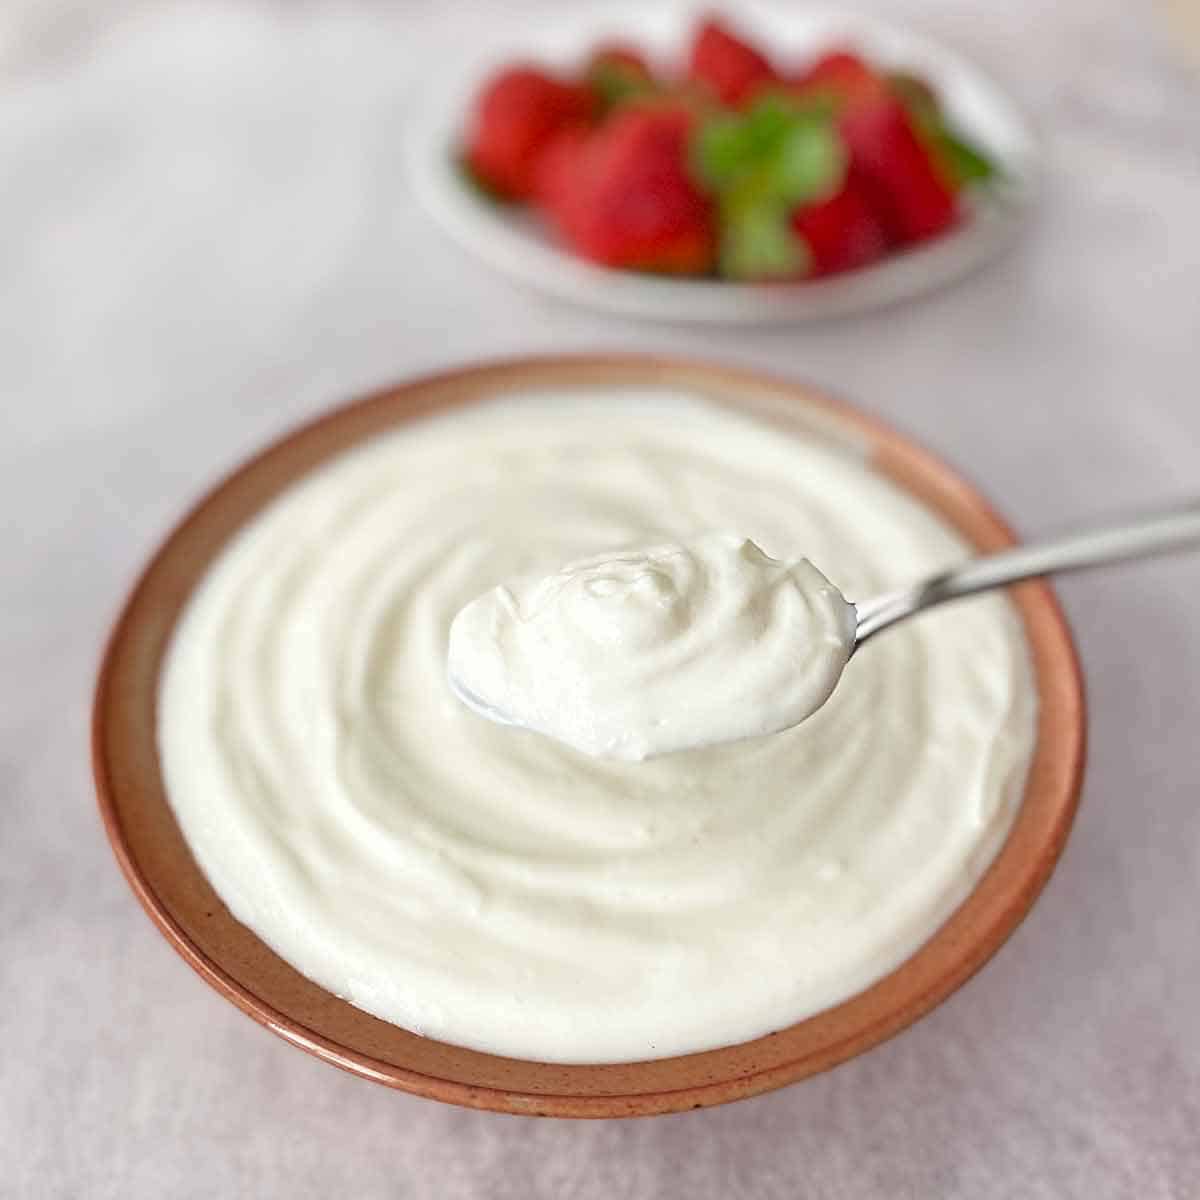
Serving Suggestions
You can enjoy the Greek yoghurt as is, or top it with:
Remember to save a couple of tablespoons of your homemade yogurt so you can use it as starter for the next batch!
Other Ways to Use Greek Yogurt
- Use it in place of sour cream in your favorite dip recipe.
- Make Tzatziki Sauce, the sauce/dip that’s popular with gyros and in Mediterranean cuisine.
- Spoon it over a baked potato.
- Blend it into a breakfast smoothie.
- Make yogurt popsicles!
Troubleshooting: If Your Homemade Greek Yogurt Doesn’t Thicken
After many successful batches of homemade yogurt, I recently had a big FAIL. The only thing I’d done differently was to use our smaller, upper oven to incubate the yogurt instead of the lower oven I usually use.
When I pulled the yogurt out the next morning it hadn’t thickened at all; it was simply a big bowl of warm milk. I was so disappointed! At first I suspected the milk, because I’d used the big-name brand of organic milk that is known to be ultra-pasteurized. But when I measured the temperature of the milk, it was 130 degrees – too hot.
I decided to experiment with the failed batch, and let the milk cool back to 110 degrees. Then I added 2 more tablespoons of yogurt mixed with 1 tablespoon of milk. (My thinking was that the too-high temperature had killed the live cultures from the previously-added yogurt.)
I wrapped the bowl in a towel, put it in the lower oven with the oven light on, and let it rest for 8 hours.
When I opened the lid, I was amazed to see that the batch was thick and creamy. In fact, it was one of the thickest batches I’ve ever made. The consistency was slightly sticky, but after I strained the yogurt it was fine.
So if you ever have a batch that fails, you may want to try again and try to find the right spot where you can keep the yogurt at that ideal temperature of about 110 degrees F.
Printable Recipe Card
If you enjoy this recipe, click on the stars ⭐️⭐️⭐️⭐️⭐️ below to leave a rating! It helps us so much, and we love reading your comments, too!
Homemade Greek Yogurt
Equipment
- Candy thermometer
- Large mesh strainer
- Large mixing bowl
- Cheesecloth
- 3-quart casserole dish
- cooling rack
- Large dishtowel
Ingredients
- 1/2 gallon whole organic milk
- 2 1/2 tablespoons plain yogurt with active cultures
Instructions
- Pour 2 tablespoons of the milk in a small bowl and reserve.
- Pour the rest of the milk into a double boiler or heavy-bottomed pan and turn the heat to medium. If using a double boiler, cover the milk. If the pot is directly on the burner, stir it and watch it very, very carefully so you don’t burn the bottom.
- Heat the milk to 180 degrees F. It helps to clip a candy thermometer to the side of the pan so you can carefully watch the temperature as it rises. Or you can check frequently with an instant read thermometer.
- As soon as the temperature reaches 180 degrees, F, immediately remove the pot from the stove. Pour the milk through a wire mesh strainer into a 3 quart baking dish and leave it uncovered. Let the milk cool to between 105 and 110 degrees F, stirring a few times during the cooling process to prevent a “skin” from forming on top of the milk.
- Turn on your oven to the “warm” or “proof” setting. If your oven doesn’t have that setting, turn it to 150 degrees F.
- Combine the 2 tablespoons of milk you saved with 2 1/2 tablespoons prepared yogurt in a small bowl and reserve.
- Once the milk has cooled to between 105 and 110 degrees, add the yogurt-milk mixture and stir well to combine. Put the lid on the casserole dish and cover it with a dishtowel to help insulate it from temperature fluctuations.
- Turn your oven off, but now turn the oven light on. Just the light from the oven should keep the dish warm enough to enable the yogurt-making process. Put the towel-covered dish in the oven, making sure that the towel isn’t near the oven lightbulb, and leave the oven light on. Leave the yogurt undisturbed for 7 or 8 hours, or overnight.
- After 8 hours or the next morning, carefully take the dish out, unwrap it and remove the lid, and check to see whether the milk has turned to yogurt. If your batch isn’t quite thickened, return it to the oven and check on it again in an hour.
- Once the yogurt is sufficiently thickened, place the dish in the refrigerator for 3 hours. Cut 4 pieces of cheesecloth to fit inside a large wire mesh strainer. Run the cheesecloth under water and squeeze out as much water as you can.
- Line the strainer with the cheesecloth and place it inside a large mixing bowl. Spoon all of the yogurt into the strainer. Refrigerate for 1 hour and pour the liquid that has accumulated into a large measuring cup. Return the bowl to the refrigerator for one more hour, and strain the liquid again.
- Your delicious Greek yogurt is ready to enjoy! Stir it for a minute or two to smooth the mixture before serving. Or spoon it into a container and refrigerate it, tightly covered, for up to a week. Makes about 6 cups, or 8 6-ounce servings.
Notes
Nutrition
Save for Later
If you use Pinterest to save and share ideas, here’s a handy pin:


Eliza Cross is the creator of Happy Simple Living, where she shares ideas to help busy people simplify cooking, gardening, holidays, home, and money. She is also the award-winning author of 17 cookbooks, including Small Bites and 101 Things To Do With Bacon.




The yogurt making method worked GREAT!
Thanks very much! I posted your link on my LiveJournal Community ‘Frugal_Kitchen’, to spread the word.
Thank you so much, Cathy! I’m so glad this recipe worked for you. xo
I’ve been so excited to try this recipe… Just made it last night and the result is lovely! Still need to strain it, though I may just pour the whey off from the top and see if it’s thick enough. I didn’t have a thermometer but searched the ‘net for a few ideas as well as read all the comments to this post. Such a simple way to make yogurt! We’ve been eating tons of it lately so this will definitely save us some cash at the grocery store.
Thanks for the great recipe Eliza!
Thanks for taking the time to post your comment and let us know about your success with the recipe – makes me happy. :-)
Totally delicious! I used a stainless pot to heat the 2 percent milk, let it cool to 110 degrees and THEN put in the Activia yogurt and set it into an igloo cooler to rest overnight. Used a wire meat thermometer and by morning the temp was at 98 degrees. Comes out as thick as cream cheese. Yummy
I’m glad the cooler method worked for you Joaquin. Thanks for your comment! xo
The recipe works but whenever i try to use the result as a starter for the next batch it doesnt turn out. Not sure why. Any ideas?
Cass, you might try freezing a little of the yogurt when you first make it, and then thawing right before adding it to the next batch. The only thing I can guess is that the cultures aren’t robust enough when added to the next batch for some reason.
I am Greek and grew up in Chicago. The school I went to belonged to the church and was right next to the church. Half of the day in Greek and half in English. When my mother made Yogurt she always would use a white pillow case. In the last part of making her yogurt she would pour it in the pillow case and let drip over the sink. My mother learned from her mother and so on. I visited a relative in a small village in Greece and that is how she made her yogurt and she made yogurt every day. My favorite Yogurt is Fage and I am eating some now. FYI. Fage is the Greek word for eat. I have pleasant memories of sitting on the balcony i Athens eating Fage yogurt.
Thanks for sharing your memories, Samantha! xo
This is delicious! I have made yogurt for years with a commercial yogurt maker, one of those 1970’s style Saltons. I have heard of Greek style so I found this and gave it a try. I had planned carefully and then got called to work unexpectedly. After 7 hours I checked it and it was very runny so I thought,’eh, I’ll just leave it.’ Well, after 18 hours(!) I was able to continue with the recipe and it was the BEST ever!!! The 2nd batch I left in for 14 and drained more whey off than the 1st batch. Still good but not as. I’m continuing to experiment with this, I just checked mine after 12 and decided to drain the whey off but found that it was still very runny so I poured it back into the dish and it’s in the oven now. I’m just hoping to find the perfect balance of incubating and straining. I never flavor it, just add fresh fruit and granola. This is so easy, thanks!!
Good luck, Haileybub. I do think it takes some experimentation to find out exactly what method works. Thanks so much for sharing your experiences. xo
After reading these posts, I couldn’t leave without a compliment to Eliza; what a darling she is, I think I’m in love…… oops.
I use the “Fage” brand because it is the only one with Bifida, supposedly the best for you. I make two gallons at a time and after 18 gallons of success, I am very happy with the whole process. For filtering the whey, use a white dinner napkin or pillow case material works well. I like it thick so I will occasionally scrape the thicker yogurt from the material so more whey can pass through. bottom with a pancake flipper to let more whey go through. I estimate that in 2 days the volume reduces about 50%. Eliza, keep doing whatever it is that makes you so sweet!
Flattery will get you everywhere – ha! Thanks for sharing your tips, too, Lance. Hugzzzz…..xo
Great method – so simple! I started making Greek yogurt in February; my son and I eat between 3 and 4 quarts each week made from 1% or 2% milk. I have a YoGourmet yogurt maker that I received as a gift, but will share this method with my daughter.
My yogurt maker came with a straining bag made from unbleached muslin. This can be reused pretty much forever, I think! Lisa C., if you strain too much whey off, couldn’t you just add it back? When I let a batch strain “too long”, I just added a little salt and pepper and used it as a vegetable dip. Think home-made ricotta! YUM!
Great ideas, Becky! Thank you so much for sharing the dip suggestion, too. xoxo
I have no oven light, btw. Forgot to mention that.
Dear Lisa,
I have a feeling the temperature is what’s causing your yogurt to be inconsistent. Do you have an insulated cooler? If so, you could fill that with bottles of very hot water to surround the yogurt container while it’s incubating. Some people have successfully put the container on a heating pad set on “low,” covered it with the towel and let it incubate that way, so you might experiment. Another suggestion would be to add 1/4 cup of dried powdered milk to the 1/2 gallon of milk before you start cooking it. This will add a little more protein, which can help thicken the yogurt. I was also wondering if your stove has a burned-out lightbulb that you could replace, but that’s probably a long shot. Good luck and I hope you find the set-up that works for you and produces better results. xo
Thanks for the recipe. I’ve made this twice now and the first time i let it strain too long (only an hour) and it resembled cottage cheese. I had to add about a cup of milk back in just to make it creamy. It was nice a thick but only created about 2 cups of greek yogurt which wasn’t worth it considering the time and that i had used organic milk which is about $4 for a 1/2 gallon by me. I made it again this week and used store brand milk at about $2 but this time i didn’t drain it long enough (maybe 15-20 minutes) and it still resembled regular yogurt. I use a yogurt-cheese bag rather than a cheesecloth which is super fine (explains why one hour the first time gave me cheese). I also think it’s not setting up firm enough. The first time i didn’t refrigerate it at all but this time it was in the fridge for 10 hours (i was at work). I have an old gas oven with no light and my warm setting runs between 150 and 175. When my oven is off it runs between 70 and 80 degrees. Do you have any suggestions as to how i can create a firmer yogurt? Both times in was incubating for 8-9 hours.
this came out FANTASTIC, thanks so much for the recipe!! The lowest my oven would go to is 170 degrees, so that’s what I heated it to. I got a little nervous about my oven staying warm enough, so after an hour and half, i did turn the oven back on to 170 for just a minute, and turned it off again.
I kept it in the oven for 7.5 hours and used 2 1/2 TBLS of plain yogurt as the starter and regular skim milk. After straining according to the recipe, it came out thick and creamy, hubby and I are VERY happy with the results!
Thank you for this recipe, I found it the most informative recipe of the ones I looked up. Here’s a tip for folks making yogurt for the first time: heat up water and attempt to keep it 110 degrees for 8 hours before you try it with milk. My first batch wasted the milk, because my oven did not keep it warm enough. After that, I heated up three separate batches of water and tried 3 alternate methods for keeping the water at 110 degrees (crockpot, heating pad, and thermos). In this way, I was able to discover that for me only the thermos reliably kept the water at a consistent temperature. Today, I was able to successfully use your recipe to make yogurt — if I had done the water test beforehand, I wouldn’t have wasted any ingredients. But if I hadn’t, I would have wasted 2 more batches because the idea of the thermos came to me only after the crockpot and the heating pad also failed. Hope this helps some folks save them a first time failure! Thanks again for the detailed instructions!
Meadow, this is a REALLY helpful idea! Thanks for sharing your experiences, and I’m glad the thermos worked for you. xo